
|
Do it yourself
| |||
| ||||


Fiat Croma - Video tutorial
Model: Fiat Croma
MK 1
- Years 2005-2010 Replacing the cabin filter on Fiat Croma is a fairly simple job that can also be carried out without the intervention of professionals, in fact it is easily accessible through a flap located under the wiper blades. First of all, by opening the engine compartment, it will be possible to notice the presence of a flap obtained in the plastic section placed under the wiper blades on the passenger side, this will be fixed with three plastic screws that will be enough to unscrew to remove the flap and have access to the filter. Once the flap has been removed, the cabin filter will be easily visible, positioned interlocking inside its seat, which can thus be easily extracted by hand and replaced with a new one.
Posted on 26 November 2023 by ScegliAuto
 Replacing the cabin air filter in the Fiat Croma.
Fiat Croma (2005-2010 / MK 1) To replace the cabin air filter on the Fiat Croma, we block the car, for safety, on a plane or on the deck and then we open the hood of the engine co 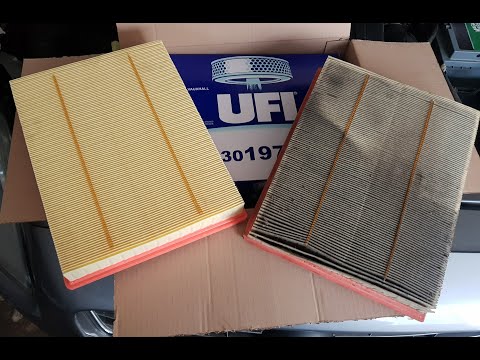 How to remove the air filter on a Fiat Croma
Fiat Croma (2005-2010 / MK 1) Before starting, we will have to open the front hood of our Fiat Croma. So let's start by loosening the screws that secure the sleeves to the air fil 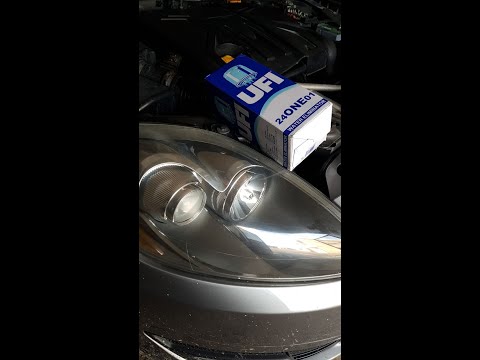 How to replace a diesel filter on Fiat Croma 1.9 MultiJet
Fiat Croma (2005-2010 / MK 1) In today's video we will see how to remove and replace the diesel filter on a Fiat Croma 1.9 MultiJet. First we open and lift the bonnet of our car a Other guides that may interest you
|
Frequently Asked QuestionsHow do I replace the Land Rover Evoque auxiliary battery?
In order to replace the auxiliary battery of the Land Rover Evoque, it is necessary to go inside the passenger compartment and remove the panel which is positioned immediately under the glovebox. Once the screws that secure this panel have been loosened, it will be possible to access the components located in its rear part, including the auxiliary battery. The latter must be disconnected from its cables and the fixing screws must be loosened. The battery can then be replaced with a new one and the panel can be fixed again with its screws. by ScegliAuto More videos
|
For advertising on this site Write to info@scegliauto.com
ScegliAuto is not responsible for any inaccuracy of the data in the lists. To report any inaccuracy or your business (if you own the business in question), please write to info@scegliauto.com
Number of seconds to generate the page: 0.048
(c) ScegliAuto 2024 - info@scegliauto.com - Privacy Policy VAT number: IT01247470535 |