
|
Do it yourself
| |||
| ||||


DIY Windscreen Replacement
Model: Fiat Panda
MK 3, 319
- Years 2012-2024
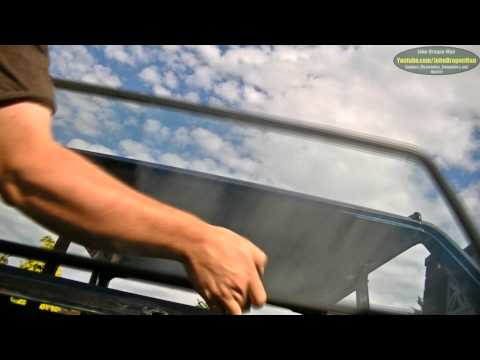
Replacing the windscreen is a delicate and dangerous operation. Use appropriate hand and eye protection. With a sturdy plastic tool, begin removing the seal and trim around the glass. With the bonnet open, disassemble the wiper mechanism to remove it. Remove the covers from the two pillars by acting on the screws hidden behind the plastic caps. Also protect the engine air intakes and proceed to lift the windscreen for removal. It is advisable to carry out this operation with the appropriate suction cups. Use a tool to thoroughly clean the edge from the remnants of the old seal. Apply silicone sealant to the edge of the new glass that you will position on the vehicle using the suction cups. Place the appropriate spacers along the edge of the glass to position it correctly. Complete the sealing.
Updated on 8 February 2026 by ScegliAuto
Video tutorial
Related tutorials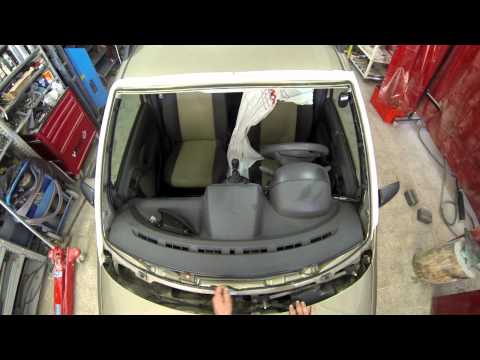
Fiat Panda
(2003-2012 /
169, MK 2)
Windscreen replacement is a delicate and potentially dangerous task. To prevent accidental breakage of the glass during removal, protect the interior…

Fiat Panda
(2003-2012 /
169, MK 2)
How to fix creases in the Panda windscreen? This defect, apparently only aesthetic, can lead to stagnation of water and infiltrations in the windshie…
Fiat Panda
(1980-2003 /
MK 1, 141)
Do you need to replace the windscreen on your car? Here’s how to proceed with the removal of the windscreen from a Fiat Panda (old model). First, ope…
Other guides you may be interested in
|
How to Replace the Radio in a Ford Focus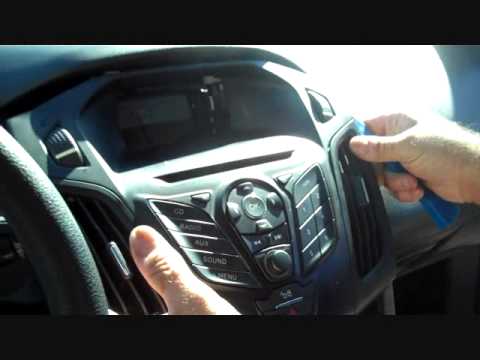
First, engage the handbrake and put the car in a low gear to prevent it from rolling during the replacement. Next, lift the bonnet to disconnect the battery cables and protect the electronic components. Unscrew the two screws located under the front panel of the stereo. Use a plastic lever to lift the bottom of the stereo. Disconnect the connector at the bottom and also remove the stereo lock at the back. Now, install the new stereo following the guides from the old one. by ScegliAuto More videos
|

|
For advertising on this site Write to info@scegliauto.com
ScegliAuto is not responsible for any inaccuracy of the data in the lists. To report any inaccuracy or your business (if you own the business in question), please write to info@scegliauto.com
Number of seconds to generate the page: 0.063
(c) ScegliAuto 2026 - info@scegliauto.com - Privacy policy VAT number: IT01247470535 |