
|
Do it yourself
| |||
| ||||


How to Install the AUX Cable on the Fiat 500
Model: Fiat 500
312
- Years 2007-2021
To install an AUX output cable, you need to: release the four clips located at the upper and lower corners of the radio by prying them with a small screwdriver, allowing access to the extraction key slots. Obtain the two extraction keys and insert them into the holes to pull out the radio. Take the AUX cable, which should have a yellow connector, and connect it to the rear plate of the radio (connector with a mandatory latch). Open the glove compartment located under the dashboard on the passenger side and detach the two side locks to remove it. At this point, run the other end of the AUX cable from behind the dashboard to the glove compartment, then reposition and reassemble the glove compartment. Finally, reassemble the radio and reposition the finishing clips.
Updated on 15 May 2026 by ScegliAuto
Video tutorial
Related tutorials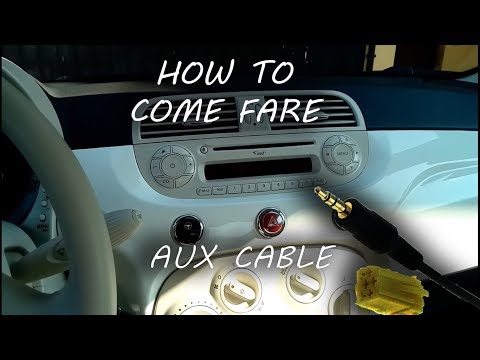
Fiat 500
(2007-2021 /
312)
The procedure for installing an AUX cable on a Fiat 500 is very simple and requires only a few tools, which we will see shortly. The first thing to d…
Fiat 500
(2007-2024 /
312)
In this video we can see how to listen to music from streaming platforms (such as Spotify) in a Fiat 500, as the Bluetooth system only supports messa…
Fiat 500
(2007-2021 /
312)
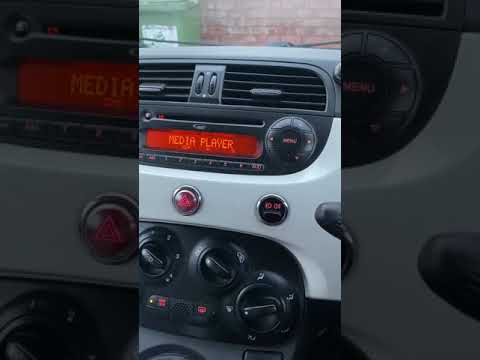
In this video tutorial, you will learn how to connect your phone to the hands-free system of your Fiat 500. Get inside the vehicle and start the engi…
Other guides you may be interested in
|
Frequently Asked QuestionsHow to Open the Fuel Cap of the Volkswagen Jetta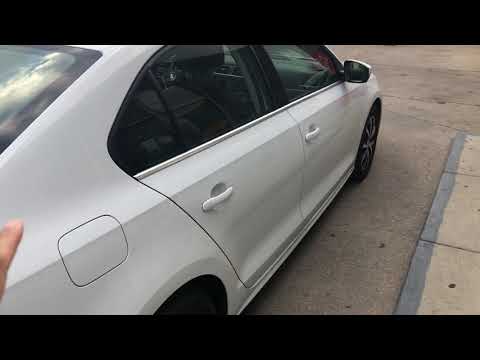
When you need to refuel this vehicle, first open the fuel filler flap. Follow these simple instructions, and you can also watch the video for more details. First, unlock the central locking to open the flaps. Then, press the fuel cap with your hand to unlock it and open it. Underneath, you will find the fuel cap, which you need to unscrew counterclockwise. At this point, you can proceed to refuel. by ScegliAuto More videos
|
|
For advertising on this site Write to info@scegliauto.com
ScegliAuto is not responsible for any inaccuracy of the data in the lists. To report any inaccuracy or your business (if you own the business in question), please write to info@scegliauto.com
Number of seconds to generate the page: 0.184
(c) ScegliAuto 2026 - info@scegliauto.com - Privacy policy VAT number: IT01247470535 |
