
|
Do it yourself
| |||
| ||||


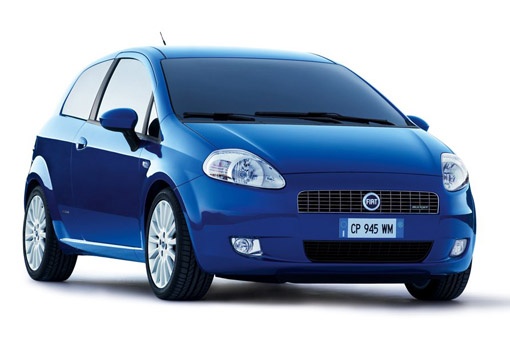
Fiat Grande Punto 2008 Fuse Diagram
Model: Fiat Punto
199, MK 3, Grandepunto , Punto EVO
- Years:
2005, 2006, 2007, 2008, 2009, 2010, 2011, 2012, 2013, 2014, 2015, 2016
Video tutorial
The fuse box in the boot is located on the left side of the compartment: the fuse diagram is as follows: Available 01; Available 02; Available 03; Power supply for lumbar adjustment actuator on the driver's front seat 04; Power supply for the boot power socket 05; Available 06; Available 07; Power supply for the heating group on the driver's front seat 08; Power supply for the heating group on the passenger's front seat 09; Power supply + battery for the rear right window lifter motor 10; Power supply + battery for the rear left window lifter motor 11; Available 12; Available 13; Available 14; Power supply + battery for the tyre pressure monitoring control unit 15; Power supply + battery for the subwoofer amplifier in the hi-fi audio system 16; Power supply + battery for the electric sunroof system 17.
Updated on 15 May 2026 by ScegliAuto
Related tutorials
Fiat Punto
(2005-2018 /
199, MK 3, Grandepunto , Punto EVO)
The instructions in this guide will show you the positioning and diagram of the external fuses for the Fiat Grande Punto, as well as the Punto Evo. F…

Fiat Punto
(2005-2018 /
199, MK 3, Grandepunto , Punto EVO)
In this short and simple guide, you will find where to locate the two fuse boxes (internal and external) and how to obtain their diagram for the Fiat…

Fiat Punto
(2005-2018 /
199, MK 3, Grandepunto , Punto EVO)
These short and simple instructions will show us the layout and positioning of all the external fuses of the Fiat Grande Punto, as well as the Punto …
Other guides you may be interested in
|
Frequently Asked QuestionsHow to Remove the Rear Seat of a Hyundai Tucson?
To remove the rear seat of a Hyundai Tucson, follow these steps. Start by moving the front seats to their most forward position to gain space. Next, locate the release lever on the underside of the rear seat, near the floor. Press this lever down while pulling the seat upwards to unlock it from the anchor pins. Once unlocked, tilt the seat upwards and forwards to remove it from its position. Repeat this process for both sides of the rear seat. Be careful of any electrical cables or components that may be connected to the seat during removal. Once the rear seat is removed, the disassembly is complete. by ScegliAuto More videos
|
For advertising on this site Write to info@scegliauto.com
ScegliAuto is not responsible for any inaccuracy of the data in the lists. To report any inaccuracy or your business (if you own the business in question), please write to info@scegliauto.com
Number of seconds to generate the page: 0.138
(c) ScegliAuto 2026 - info@scegliauto.com - Privacy policy VAT number: IT01247470535 |
