
|
Do it yourself
| |||
| ||||


How to Replace the Diesel Filter on a Fiat Panda
Model: Fiat Panda
169, MK 2
- Years 2003-2012
In this video tutorial, you can see how to replace the diesel filter on a Fiat Panda 1.3 "MultiJet" 75 HP, following some essential steps: the necessary tools are a 10mm spanner and a diesel filter. The first thing to do is disconnect the negative terminal of the battery; using your fingers, unclip the yellow plastic clip by sliding it towards you until it stops; now simultaneously press the two white square buttons upwards, and do the same to unclip the other connector by pressing the two green buttons together and pulling upwards until it disconnects. Using the 10mm spanner, unfasten the screw that secures the retaining bracket and free the diesel filter by loosening the clamp. It is crucial to keep the filter upright as it is full of diesel; remove the plastic cap screwed onto the bottom of the new filter, being careful not to lose the rubber seal; unscrew the sensor and retrieve the old seal from the sensor, then screw on the white plastic cap to prevent any remaining diesel from leaking out. After moistening the new seal with a drop of oil, hand-tighten the sensor, reconnect the connector, and position the new filter in place.
Updated on 12 June 2026 by ScegliAuto
Video tutorial
Related tutorials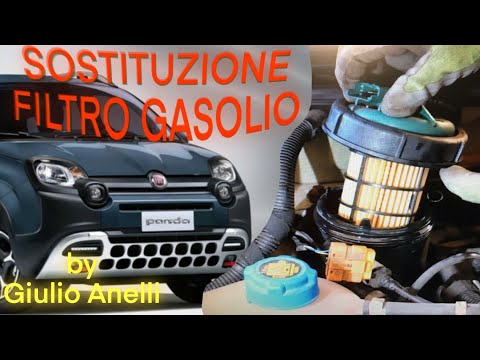
Fiat Panda
(2012-2026 /
319, MK 3)
.. This short video tutorial shows how to replace the diesel filter on a Fiat Panda 1.3 MultiJet of the third generation, produced from.. …
Fiat Panda
(2003-2012 /
169, MK 2)
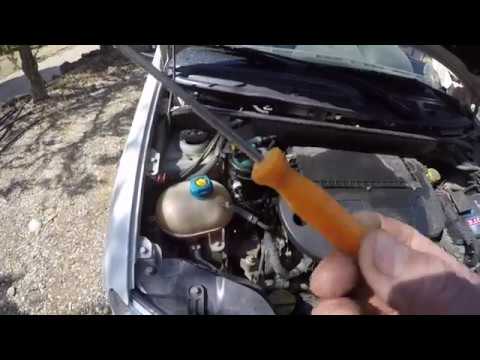
How to replace the diesel filter on your Panda without incurring labour costs? Here's how to do it yourself effectively. First, lift the bonnet and s…
Fiat Panda
(2003-2012 /
169, MK 2)
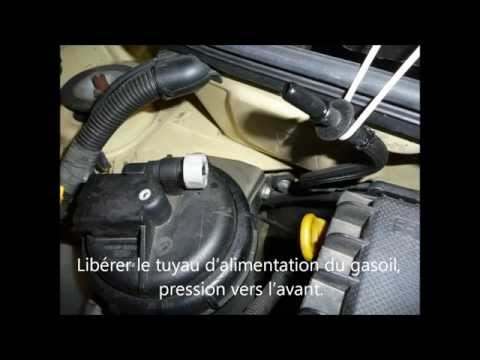
The diesel filter on the Fiat Panda 1.3 MJT is the classic immersion cartridge filter; the filter housing, also known as the bowl, is located just be…
Other guides you may be interested in
|
How to Open the Bonnet on the Lancia Y
To open the bonnet on this vehicle, follow these simple instructions: first, open the driver's door and locate the lever positioned just below the dashboard, marked with an image of the vehicle with the bonnet open. Pull this lever towards you until you hear a "click" indicating the bonnet is released. Next, exit the cabin and stand in front of the bonnet to disengage the safety catch and complete the opening. To do this, slightly lift the bonnet, locate the yellow lever underneath, and pull it to the left to fully release and open the bonnet. by ScegliAuto More videos
|

|
For advertising on this site Write to info@scegliauto.com
ScegliAuto is not responsible for any inaccuracy of the data in the lists. To report any inaccuracy or your business (if you own the business in question), please write to info@scegliauto.com
Number of seconds to generate the page: 0.793
(c) ScegliAuto 2026 - info@scegliauto.com - Privacy policy VAT number: IT01247470535 |
