
|
Do it yourself
| |||
| ||||


How to Repair the Carpet of a Fiat Panda
Model: Fiat Panda
319, MK 3
- Years 2012-2026
In this video tutorial, see how to repair the carpet of the new Fiat Panda by following a few simple steps that will help you work independently. The first step is to thoroughly clean the upholstery of your car. Next, gather all the necessary materials: carpet of the same colour, paper, scissors, high-temperature glue, a ruler, and a craft knife, along with a brush. Use the paper and pen to measure and create the piece of carpet. Trace the shape onto the carpet and cut it out using scissors and the craft knife. Remove the cover by unscrewing the screw located under the bonnet lever, as shown in the video, and then remove the cover. Apply glue to the cut piece of carpet and wait one minute, then position it over the damaged area without getting glue on the surrounding parts.
Updated on 3 July 2026 by ScegliAuto
Video tutorial
Related tutorials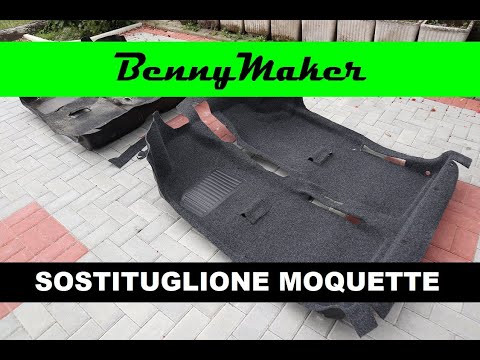
Fiat Panda
(1980-2003 /
141, MK 1)
In this video tutorial, you will learn how to remove and replace the carpet covering on the floor of the Fiat Panda 141, first series, following the …

Fiat Panda
(2003-2012 /
169, MK 2)
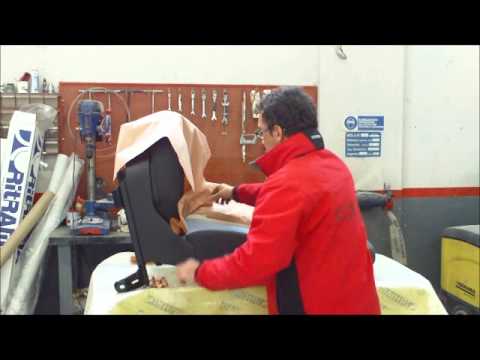
Today we will explain how to repair the upholstery of the Fiat Panda seat on your own. To perform this repair, it is necessary to remove the seat fro…
Fiat Panda
(2003-2012 /
169, MK 2)
If you intend to repair the upholstery fabric of your car seat because it is worn or torn, follow the instructions provided in this description and e…
Other guides you may be interested in
|
Frequently Asked QuestionsHow to Check the Oil Level on a Jeep Renegade?
To check the oil level on a Jeep Renegade, you need to open the bonnet to access the components inside the engine bay: on the lower left side of the engine block, you will find the dipstick for checking the level. This should be pulled out and thoroughly cleaned with a cloth: once cleaned, reinsert it back into its tube and pull it out immediately after. This way, you can check that the oil mark is between the minimum and maximum levels; finally, you can place the dipstick back in its tube. by ScegliAuto More videos
|

|
For advertising on this site Write to info@scegliauto.com
ScegliAuto is not responsible for any inaccuracy of the data in the lists. To report any inaccuracy or your business (if you own the business in question), please write to info@scegliauto.com
Number of seconds to generate the page: 0.292
(c) ScegliAuto 2026 - info@scegliauto.com - Privacy policy VAT number: IT01247470535 |
