
|
Do it yourself
| |||
| ||||


Replacement of Steering Rack Boot
Model: Fiat Punto
MK 1, 176
- Years 1993-1999
If the boot covering the tie rod (or axial joint) of the steering rack fails, it is essential to replace it promptly to prevent dirt and especially water from contaminating and damaging the rack; to replace the boot, lift the vehicle, remove the front wheel, and before unscrewing the nut securing the end to the hub, loosen the lock nut that holds the end in position; at this point, remove the securing nut of the end and pull it out of its housing, unscrew it from the tie rod counting the number of turns, and slide off the old boot; insert and secure the new one with the appropriate clips, screw the end back on with the same number of turns, secure it to the hub with the corresponding nut, and tighten the lock nut.
Updated on 18 February 2026 by ScegliAuto
Video tutorial
Related tutorials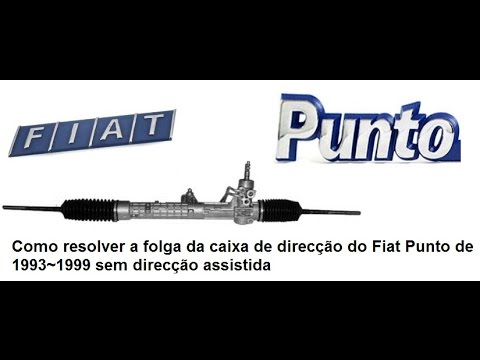
Fiat Punto
(1993-1999 /
MK 1, 176)
It is common for wear in the sliding bush of the steering rack to create play, leading to noise, especially when driving on uneven surfaces. You can …
Fiat Punto
(1993-1999 /
MK 1, 176)
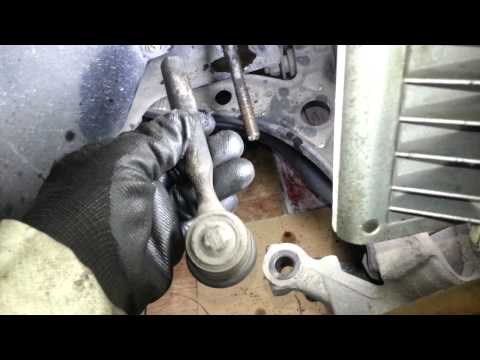
To replace the steering rack boot, first remove the tie rod end. This is a very simple operation: unscrew the nut securing the ball joint of the tie …
Fiat Punto
(1999-2011 /
MK 2, 188)
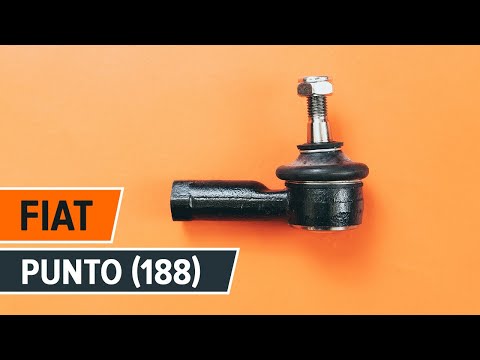
To replace the tie rod end attached to the end of the steering rack, lift the vehicle on a lift and remove the front wheel for better access (though …
Other guides you may be interested in
|
Where is the Fuel Filter Located in a Volvo XC60?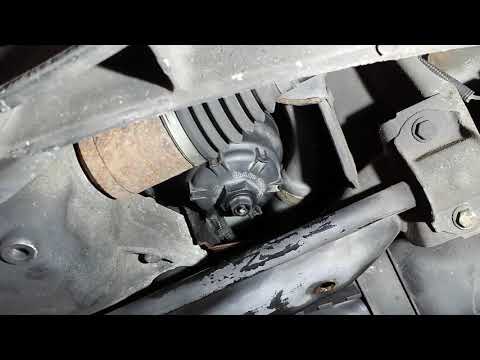
In this video, you will see where the fuel filter is located in a Volvo XC60 and how to proceed if you need to replace it. As shown, the filter is positioned at the lower part of the engine, right between the left half-shaft and the sway bar attachment. To replace the filter, first, go underneath the vehicle, taking all necessary safety precautions. Then, using an 18mm wrench, open the drain valve and allow any water present to escape. Next, unscrew the housing, remove the old filter, insert the replacement along with a new gasket, and reassemble everything. by ScegliAuto More videos
|
|
For advertising on this site Write to info@scegliauto.com
ScegliAuto is not responsible for any inaccuracy of the data in the lists. To report any inaccuracy or your business (if you own the business in question), please write to info@scegliauto.com
Number of seconds to generate the page: 0.582
(c) ScegliAuto 2026 - info@scegliauto.com - Privacy policy VAT number: IT01247470535 |
