
|
Do it yourself
| |||
| ||||


How to Replace the Glow Plugs on a Fiat Ducato
Model: Fiat Ducato
MK 2
- Years:
1993, 1994, 1995, 1996, 1997, 1998, 1999, 2000, 2001, 2002, 2003, 2004
Video tutorial
In this video, see how to replace the glow plugs on a Fiat Ducato 2.5 Aspirated. Unfortunately, on this engine, the fuel pump is located in front of the glow plugs, making the space very tight. You can find this component on eBay with the code 264971841365 for £20.00 plus £8.00 delivery. When changing, it's advisable to replace all of them. You will need three spanners: one 10 mm, one 13 mm, and one 8 mm. First, disconnect the bar that supplies the glow plugs, then remove the bolts along the bar. Spray a bit of WD-40 on the glow plugs to help remove them; remember that in front of one of these is the fuel pump (remove it from underneath). Apply some grease to the threads of the new glow plugs and reverse the entire procedure.
Updated on 10 September 2026 by ScegliAuto
Related tutorials
Fiat Ducato
(2006-2014 /
X250)
Today we will discover the main instructions that will allow us to disassemble and replace the glow plugs of the Fiat Ducato 2.3 Multijet. First of a…

Fiat Ducato
(2006-2014 /
X250)
The glow plugs, as the name suggests, are responsible for raising the temperature of the engine in diesel vehicles, in order to allow it to start lat…
Fiat Ducato
(2006-2014 /
X250)
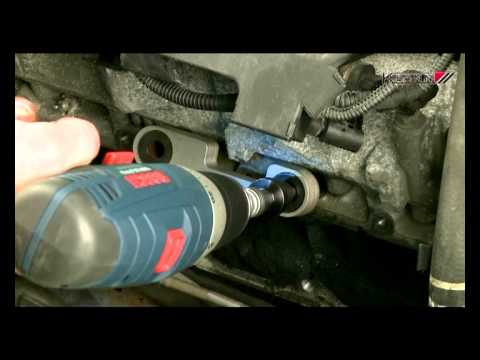
Remove the glow plugs from a Fiat Ducato. Watch this detailed video on how to proceed with the removal. Pull the engine compartment release lever loc…
Other guides you may be interested in
|
How to Set the Date and Time on the Iveco Daily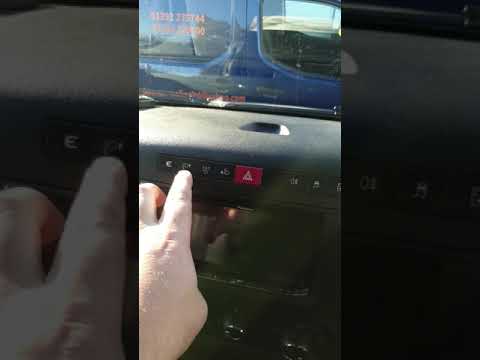
Today, we will see in this video tutorial how to change the date and time on the Iveco Daily. First, get into the vehicle and turn on the instrument panel; then go to the vehicle settings on the central display, pressing the relevant option for date and time. At this point, press the "set" button located at the top, using the physical arrow buttons to set both the date and time; finally, exit the onboard computer menu to save the changes made! by ScegliAuto More videos
|
|
For advertising on this site Write to info@scegliauto.com
ScegliAuto is not responsible for any inaccuracy of the data in the lists. To report any inaccuracy or your business (if you own the business in question), please write to info@scegliauto.com
Number of seconds to generate the page: 0.032
(c) ScegliAuto 2026 - info@scegliauto.com - Privacy policy VAT number: IT01247470535 |
