
|
Do it yourself
| |||
| ||||


How to solve the problem of a 2.3 MultiJet engine running poorly
Model: Fiat Ducato
X290
- Years:
2014, 2015, 2016, 2017, 2018, 2019, 2020, 2021, 2022, 2023, 2024, 2025
Video tutorial
In this video we see how the problem of a Fiat Ducato MultiJet engine running poorly was solved: the engine was extremely noisy because the distribution bearing had come loose, causing the belt to break. It was necessary to dismantle the top part of the head, and unfortunately the tappets were broken; in fact, in these engines, it is the tappets that tend to break because the valves are mounted in a way that puts all the stress on the tappets. After replacing these components, the engine still ran poorly, so a compression test was done and two cylinders had low compression. This caused the camshafts to rotate due to the impact, putting the engine out of phase. Therefore, we will need to replace both the intake and exhaust camshafts; however, the camshafts that were replaced did not have any visible defects. But the difference in how the engine runs tells us that was indeed the problem.
Posted on 5 June 2025 by ScegliAuto
Related tutorials
Fiat Ducato
(2014-2026 /
X290)
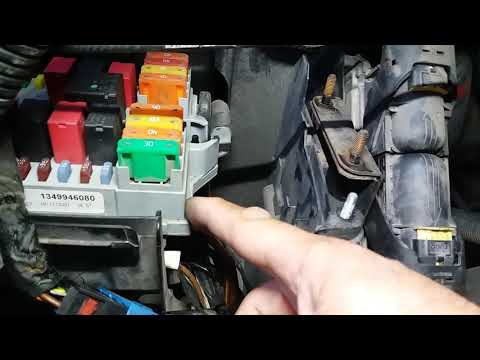
If the ventilation in the cabin is not working correctly, the problem could be the resistor plug located under the glove compartment. Over time, the …
Fiat Ducato
(2006-2014 /
X250)
If the second speed of the cooling fan does not activate, which usually operates when the air conditioning is turned on or under specific overheating…

Fiat Ducato
(1993-2016 /
MK 2)
In this video, we see how to fix a cabin fan on a Fiat Ducato that only works at maximum speed: in this case, the problem is the heating resistor, wh…
Other guides you may be interested in
|
How to Set the Date and Time on the Iveco Daily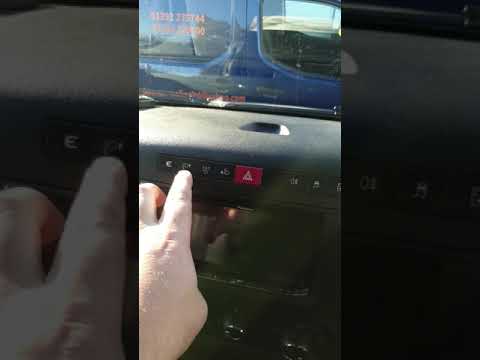
Today, we will see in this video tutorial how to change the date and time on the Iveco Daily. First, get into the vehicle and turn on the instrument panel; then go to the vehicle settings on the central display, pressing the relevant option for date and time. At this point, press the "set" button located at the top, using the physical arrow buttons to set both the date and time; finally, exit the onboard computer menu to save the changes made! by ScegliAuto More videos
|
|
For advertising on this site Write to info@scegliauto.com
ScegliAuto is not responsible for any inaccuracy of the data in the lists. To report any inaccuracy or your business (if you own the business in question), please write to info@scegliauto.com
Number of seconds to generate the page: 0.020
(c) ScegliAuto 2026 - info@scegliauto.com - Privacy policy VAT number: IT01247470535 |
