
|
Do it yourself
| |||
| ||||


Replacement of Front Headlight and Position Light Bulbs
Model: Fiat Punto
MK 2, 188
- Years 1999-2011
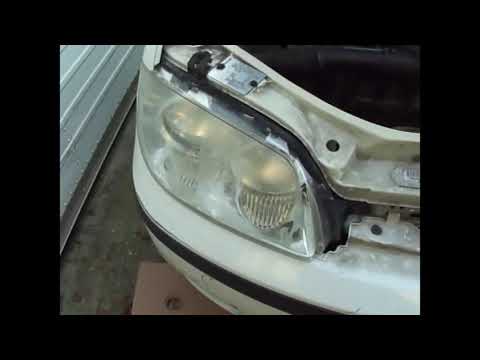
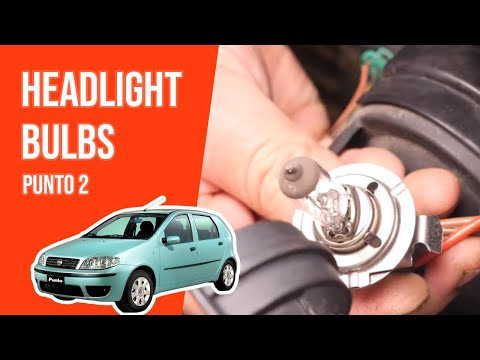
Replacing the bulbs is an easy task, just pay a little attention. Remove the protective cover of the light assembly by taking off the two side retaining springs. Locate the faulty bulb and remove the retaining spring of the bulb holder by taking it out of the headlight. To replace the bulb, press it slightly downwards and turn it a few degrees anti-clockwise until the two clips release, then pull it out of the holder. Take a new bulb with the same specifications and insert it into the bulb holder, aligning the two references, press it slightly downwards and turn it clockwise until it locks. Refit the bulb holder into the headlight, ensuring the reference notch is aligned, and reposition the retaining spring. For the position light, pull it out of its housing by pressing the two plastic clips and pulling it towards you. Replace the bulb using the same procedure. After replacement, simply push the bulb back into the headlight until the clips snap into place. Always use bulbs of the same type for replacements; you will find the wattage and model written on the metal body of the bulb.
Updated on 2 February 2026 by ScegliAuto
Video tutorial
Related tutorials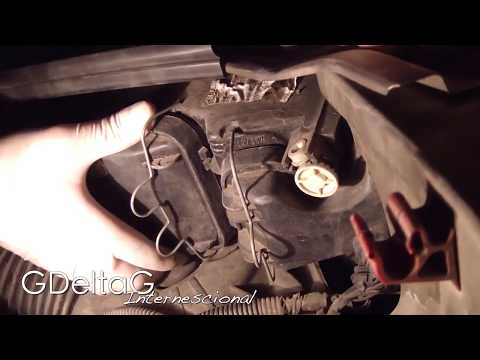
Fiat Punto
(1999-2011 /
MK 2, 188)
Let's see how to replace the headlight bulbs of a Fiat Punto. We open the front hood (by pulling the lever located at the bottom right of the dashboa…
Fiat Punto
(1999-2011 /
MK 2, 188)
Let's see how to replace the bulbs in the front headlight on a Fiat Punto: open the front bonnet by pulling the lever located at the bottom right of …
Fiat Punto
(1999-2011 /
MK 2, 188)
Today we will see how to replace the headlight bulb in a second series Fiat Punto. First of all, let's open the bonnet of the car and see how to repl…
Other guides you may be interested in
|
How to Replace the Radio in a Ford Focus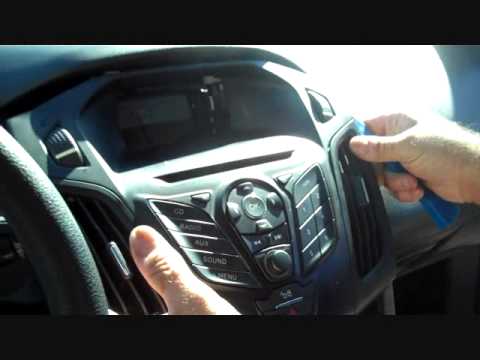
First, engage the handbrake and put the car in a low gear to prevent it from rolling during the replacement. Next, lift the bonnet to disconnect the battery cables and protect the electronic components. Unscrew the two screws located under the front panel of the stereo. Use a plastic lever to lift the bottom of the stereo. Disconnect the connector at the bottom and also remove the stereo lock at the back. Now, install the new stereo following the guides from the old one. by ScegliAuto More videos
|
|
For advertising on this site Write to info@scegliauto.com
ScegliAuto is not responsible for any inaccuracy of the data in the lists. To report any inaccuracy or your business (if you own the business in question), please write to info@scegliauto.com
Number of seconds to generate the page: 0.111
(c) ScegliAuto 2026 - info@scegliauto.com - Privacy policy VAT number: IT01247470535 |