
|
Do it yourself
| |||
| ||||


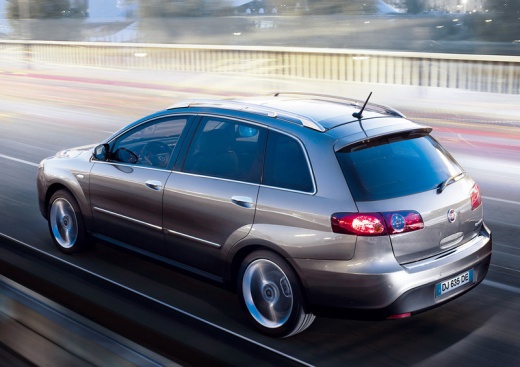
Installation of Auxiliary Power Cable for Power Steering Pump on Fiat Croma
Model: Fiat Croma
MK 1
- Years 2005-2010
If the steering suddenly becomes stiff and the power steering warning light remains on the dashboard, first check the fault memory in the electro-hydraulic pump control unit. If the error code is C 1001 Power Supply Voltage, then the fault is likely due to a poor connection at the power supply socket of the pump itself. It often happens that the socket tends to burn out, so it is advisable to purchase an auxiliary power supply cable, which is approximately 2 metres long, with a new socket on one end and two eyelets on the other to connect directly to the battery, one to earth and the other under the 80 Ampere fuse, disconnecting those from the original wiring.
Updated on 25 February 2026 by ScegliAuto
Video tutorial
Related tutorials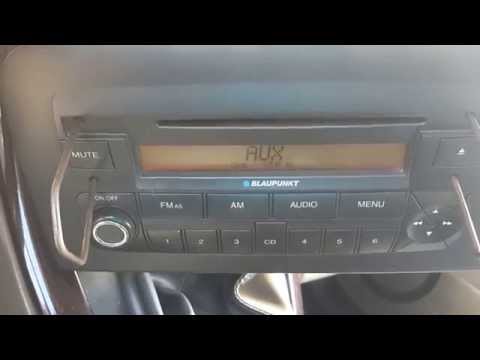
Fiat Croma
(2005-2010 /
MK 1)
How to remove an original radio from a Fiat Croma? Follow these guidelines carefully to execute the removal. Use the original or aftermarket metal ke…
Fiat Croma
(2005-2010 /
MK 1)
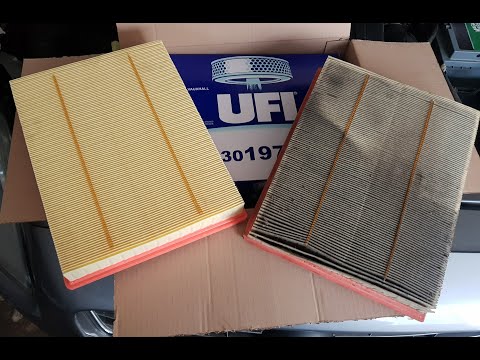
Before starting, we will have to open the front hood of our Fiat Croma. So let's start by loosening the screws that secure the sleeves to the air fil…
Fiat Croma
(2005-2010 /
MK 1)
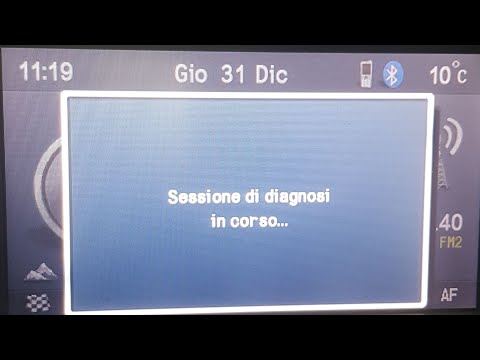
In order to reset the Service light on the Fiat Croma, you need to turn on the instrument panel by inserting the ignition key into the ignition switc…
Other guides you may be interested in
|
How to Remove the CV Boot on Fiat Panda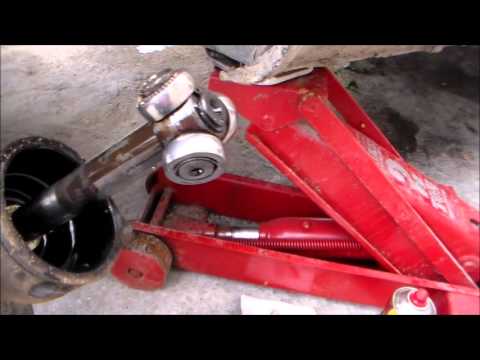
Let’s see how to remove the boot from the joint on a Fiat Panda. After positioning your car on a column lift: raise it to a comfortable height to work on, loosen the wheel nuts (using a socket wrench or air drill) and remove the wheel. Begin unscrewing the brake disc bolts with a socket wrench. Remove the bolts located under the disc and completely detach the wheel hub. Pull the arm around the joint with your hands. Fit the new boot (after removing the old one) onto the constant velocity joint, then start reassembling all the parts in reverse order. by ScegliAuto More videos
|
|
For advertising on this site Write to info@scegliauto.com
ScegliAuto is not responsible for any inaccuracy of the data in the lists. To report any inaccuracy or your business (if you own the business in question), please write to info@scegliauto.com
Number of seconds to generate the page: 0.073
(c) ScegliAuto 2026 - info@scegliauto.com - Privacy policy VAT number: IT01247470535 |