
|
Do it yourself
| |||
| ||||


Replacing the Cabin Air Filter in the Vehicle
Model: Ford Focus
MK 3
- Years 2011-2018
This video shows how to replace the cabin air filter in a Ford Focus. First, obtain the vehicle's user manual where the model of filter you need is indicated (in this case, the FP70). The only tool you will need for this operation is a Torx screwdriver with a 15 mm tip. First, remove the caps covering the yellow clips at the bottom of the dashboard on the passenger side and extract the panel. Once you locate the filter housing, remove its cover by unscrewing the screw that secures it with the Torx screwdriver. Press with your index finger and thumb on the cover and remove it. Now grasp the filter with your fingers and pull it out; to do this, press with your index finger on the middle point of the filter's edge and create an arc at the bottom of the filter, then pull it out by lifting the lower vertex upwards. Take the new filter and ensure it is positioned correctly. Since the cabin entrance is smaller than the filter side, the filter will need to be compressed at its mid-side points (as if to form a bow). This will temporarily shorten the side of the filter, making its insertion easier. Refit the cover of the housing and re-screw its Torx screw. Reassemble the lower dashboard panel and replace the caps on the yellow screws.
Updated on 5 February 2026 by ScegliAuto
Video tutorial
Related tutorials
Ford Focus
(2011-2018 /
MK 3)
The replacement of the cabin air filter in your Ford Focus SE is fortunately one of the simplest operations to perform even if you are completely ine…
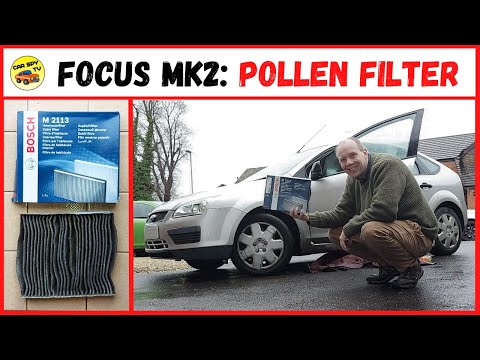
Ford Focus
(2004-2011 /
MK 2, Focus 2)
To maintain air quality inside your Ford Focus Mk2 cabin while using the air conditioning, it is essential to periodically replace the cabin air filt…
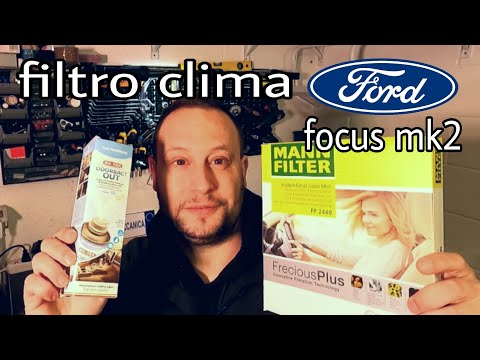
Ford Focus
(2004-2011 /
MK 2, Focus 2)
If you want to replace the cabin air filter on this model of car, the description below will provide all the instructions and the procedure to follow…
Other guides you may be interested in
|
How to Check the Oil Level on a Jeep Renegade?
To check the oil level on a Jeep Renegade, you need to open the bonnet to access the components inside the engine bay: on the lower left side of the engine block, you will find the dipstick for checking the level. This should be pulled out and thoroughly cleaned with a cloth: once cleaned, reinsert it back into its tube and pull it out immediately after. This way, you can check that the oil mark is between the minimum and maximum levels; finally, you can place the dipstick back in its tube. by ScegliAuto More videos
|

|
For advertising on this site Write to info@scegliauto.com
ScegliAuto is not responsible for any inaccuracy of the data in the lists. To report any inaccuracy or your business (if you own the business in question), please write to info@scegliauto.com
Number of seconds to generate the page: 0.655
(c) ScegliAuto 2026 - info@scegliauto.com - Privacy policy VAT number: IT01247470535 |
