
|
Do it yourself
| |||
| ||||


Replacing the Starter Motor Pinion
Model: Ford Transit
MK 7
- Years 2006-2014
Once the starter motor is removed, you can test its operation on a bench using a vice to secure the motor and a battery or jump starter to power it. Once the motor is secured in the vice, connect the motor casing or the vice itself to earth and connect the positive to the solenoid (the larger retaining pin) and the starter contact: you will see the pinion move forward. If you hear noise, it may be necessary to lubricate the pinion drive mechanism or replace it entirely. Disconnect the brush connections from the solenoid and unscrew the retaining pins of the stator, which will come out complete with the armature and brushes. Then extract the armature with the brush holder, check the wear on the brushes, and reassemble (the cable guide of the brush holder serves as a positioning guide); then move on to the pinion drive mechanism: this is an epicyclic gearing that will certainly need cleaning and greasing: remove the retaining pin and then the pinion shaft to disassemble the gearing; insert a new pinion and reassemble everything. Repeat the bench test before installation.
Updated on 11 February 2026 by ScegliAuto
Video tutorial
Related tutorials
Ford Transit
(2006-2014 /
MK 7)
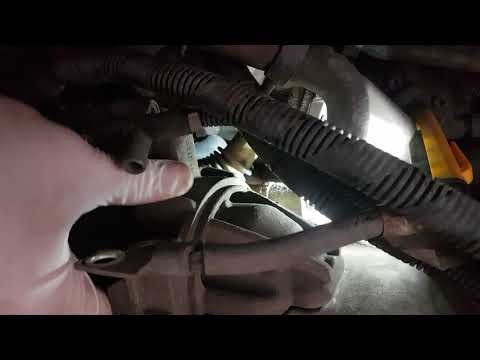
If the starter motor spins but the engine does not start, the fault lies with the drive mechanism of the starter pinion: when you turn the key to sta…
Ford Transit
(2006-2014 /
MK 7)
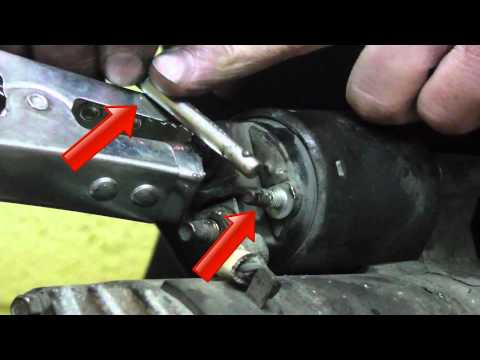
Is the starter motor damaged? Here’s how to remove the starter motor on Ford Transit. Open the bonnet, remove the engine soundproofing panel. Disconn…
Ford Transit
(2006-2014 /
MK 7)
At the first sign of trouble, it is better to change the starter motor rather than wait for it to fail completely, as a faulty starter motor usually …
Other guides you may be interested in
|
Frequently Asked QuestionsHow to Check the Oil Level on a Jeep Renegade?
To check the oil level on a Jeep Renegade, you need to open the bonnet to access the components inside the engine bay: on the lower left side of the engine block, you will find the dipstick for checking the level. This should be pulled out and thoroughly cleaned with a cloth: once cleaned, reinsert it back into its tube and pull it out immediately after. This way, you can check that the oil mark is between the minimum and maximum levels; finally, you can place the dipstick back in its tube. by ScegliAuto More videos
|
|
For advertising on this site Write to info@scegliauto.com
ScegliAuto is not responsible for any inaccuracy of the data in the lists. To report any inaccuracy or your business (if you own the business in question), please write to info@scegliauto.com
Number of seconds to generate the page: 0.542
(c) ScegliAuto 2026 - info@scegliauto.com - Privacy policy VAT number: IT01247470535 |
