
|
Do it yourself
| |||
| ||||


How to Remove the Front Headlights of the Ford Kuga MK1
Model: Ford Kuga
C394, MK 1
- Years 2008-2012
In this video, see how to easily change the front headlight of the Ford Kuga MK1: open the bonnet and remove the lower trim located beneath the headlight assembly, which is only held in place by pressure. Remove the screw located at the top of the headlight. From the space created below, you will see two metal clips that must be pressed simultaneously by reaching through the opening you created earlier. If you need to change the bulbs, it will be sufficient to move the headlight assembly a few centimetres; if you want to change the entire headlight, you will need to disconnect the wires found at the back. To access the bulbs, remove the protective rubber cap. The sidelights are behind another cover, and the bulb must be turned clockwise to be removed; the indicator is located behind an additional cover on the outer side.
Updated on 7 September 2026 by ScegliAuto
Video tutorial
Related tutorials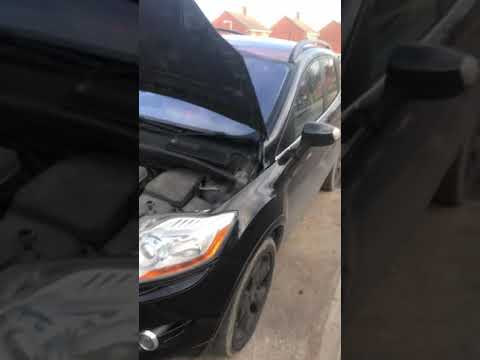
Ford Kuga
(2008-2012 /
C394, MK 1)
In today's video tutorial, you will learn how to remove and replace the front headlights on a Ford Kuga in simple and quick steps. First, open the bo…
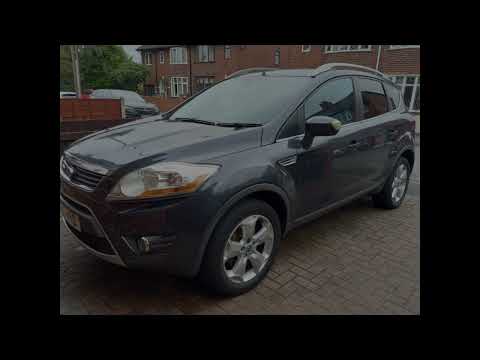
Ford Kuga
(2008-2012 /
C394, MK 1)
This guide shows how to remove and replace the front headlight bulbs of the first series Ford Kuga, following these simple steps. First, open the bon…
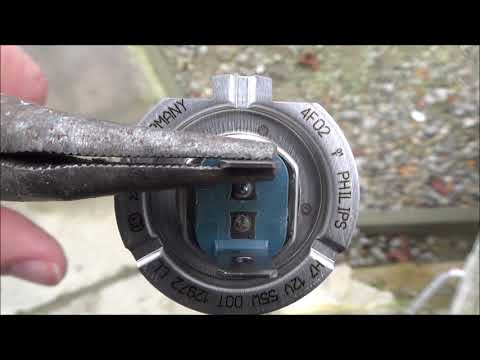
Ford Kuga
(2008-2012 /
C394, MK 1)
To replace the front headlight bulb of the Ford Kuga, open the bonnet to access the components at the rear of the headlight. Here, you will find the …
Other guides you may be interested in
|
How to replace the horn on a Renault Duster - Dacia Duster
Today's main instructions will show you the procedure for removing and replacing the horn or sound signal on the Renault Duster, as well as the Dacia Duster. First, open the bonnet of the vehicle and start removing the front bumper by unscrewing all the fixing screws; you will find the horn right in front of the radiator, as shown in the video. At this point, disconnect the electrical connector and unscrew the bracket screw to remove and replace the horn with the new one; finally, reassemble the front bumper! by ScegliAuto More videos
|
|
For advertising on this site Write to info@scegliauto.com
ScegliAuto is not responsible for any inaccuracy of the data in the lists. To report any inaccuracy or your business (if you own the business in question), please write to info@scegliauto.com
Number of seconds to generate the page: 0.313
(c) ScegliAuto 2026 - info@scegliauto.com - Privacy policy VAT number: IT01247470535 |
