
|
Do it yourself
| |||
| ||||


How to Replace the Outer Door Handle on a GMC Sierra Mk2
Model: GMC Sierra
MK 2
- Years:
1999, 2000, 2001, 2002, 2003, 2004, 2005, 2006, 2007
Video tutorial
This guide shows you how to replace the outer door handle on the front door of a GMC Sierra Mk2. The first step is to remove the trim piece on the mirror and the switch panel. Remove the lock lever and the panel behind the handle, and take out the service light. Remove the two 7 mm bolts and detach the inner door panel. Disconnect the electrical wires from the panel and secure the window glass in the closed position. Remove the two 11 mm bolts at the top of the door and at the top of the speaker, and lower the window completely. Remove the window guide to access the handle mounting bolt. Remove the three 11 mm bolts and pull out the handle. Remove the linkage rod and the key cylinder. Install this component onto the new lock and reassemble everything in position. Check the proper operation of the lock.
Updated on 12 May 2026 by ScegliAuto
Related tutorials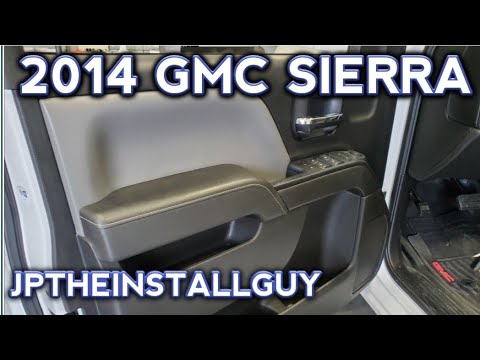
GMC Sierra
(2014-2018 /
MK 4)
In this guide, learn how to remove and replace the front door panel on the GMC Sierra by following the instructions below. First, open the front door…

GMC Sierra
(1999-2007 /
MK 2)
In this video tutorial, see how to remove and replace the tailgate handle on a GMC Sierra in simple steps. First, move to the back of the vehicle and…

GMC Sierra
(1999-2007 /
MK 2)
To replace the fuel filter on a GMC Sierra, first open the fuse box in the engine compartment to disconnect the relay that controls the filter operat…
Other guides you may be interested in
|
How to Reset the AdBlue Warning Light on a Peugeot Boxer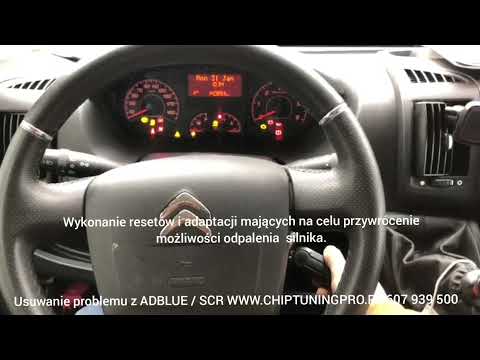
To reset the AdBlue system on a 2018 Peugeot Boxer, follow these steps: Start the engine and ensure the vehicle is parked in a well-ventilated area. Locate the "MENU" button on the dashboard or steering wheel controls. Press and hold the "MENU" button until the menu options appear on the display. Use the arrow buttons or scroll wheel to access the "Vehicle Settings" or "Settings" menu. Select the "AdBlue" or "AdBlue System" option. Look for the "Recharge" or "Reset" option in the AdBlue menu. Once you find the reset option, select it and confirm your choice when prompted. The system will be reset, and a confirmation message may appear on the display. Turn off the engine and wait a few seconds. Restart the engine and check that the AdBlue system has been reset. by ScegliAuto More videos
|
|
For advertising on this site Write to info@scegliauto.com
ScegliAuto is not responsible for any inaccuracy of the data in the lists. To report any inaccuracy or your business (if you own the business in question), please write to info@scegliauto.com
Number of seconds to generate the page: 0.151
(c) ScegliAuto 2026 - info@scegliauto.com - Privacy policy VAT number: IT01247470535 |
