
|
Do it yourself
| |||
| ||||


Replacement of Brake Shoes with Cleaning of Drums and Rear Brake Shoes
Model: Honda Civic
MK 7
- Years 2001-2006
For this operation, you will need the following tools: a 12mm spanner, a set of screwdrivers, brake cleaner, and rags. First step: lift the vehicle and remove the wheel bolts and the wheel itself. Unscrew the drum screws and remove the drum. Spray brake cleaner inside the shoes assembly and remove the retaining springs. Take both shoes off the support. Spray plenty of brake cleaner inside the brake. Unscrew the brake screws and remove all parts. Clean all brake components from rust, dirt, and deposits to prevent seizing. Prepare the new brake shoes. Clean and grease the moving parts. Reassemble all parts carefully, including the springs in their respective guides. Refit the remaining springs in their positions. Ensure the components move freely. Lubricate the drum and install it. Install the return springs. Install the brake cable. Install the shoe assembly and fit the cable. Install the remaining parts. Spray more brake cleaner on the shoes and wipe with a cloth. Refit the drum and ensure it functions correctly by pulling the brake cable. Check the operation of the handbrake.
Updated on 8 February 2026 by ScegliAuto
Video tutorial
Related tutorials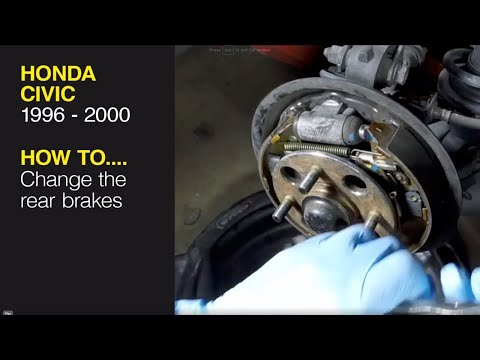
Honda Civic
(1995-2001 /
MK 6)
This video shows the main steps to remove and replace the rear brake shoes on a Honda Civic. First, lift the vehicle and remove the rear wheel; then,…
Honda Civic
(2006-2012 /
MK 8)
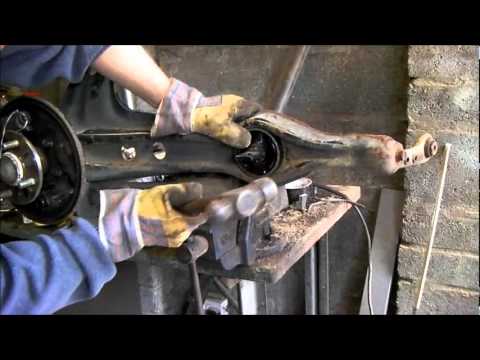
To replace the bush (or silent block) of the rear suspension wishbone, it is necessary to remove the wishbone from the vehicle.
Lift the vehicle on a…
Honda Civic
(2001-2006 /
MK 7)
The EGR valve is exposed to exhaust gases that generally contain oil particles and unburnt diesel, which tend to clog the valve: therefore, a simple …
Other guides you may be interested in
|
How to Replace the Battery on a Honda Vision 110
To replace the battery on a Honda Vision 110, you need to remove the front fairing of the motorcycle, located directly under the front headlamp. To loosen this panel, unscrew the two screws found at its top, just below the handlebar. Once these screws are loosened, lever under the panel to detach it, gaining access to the battery underneath: this battery must be removed from its housing by unscrewing the fixing screws and disconnecting the power cables, replacing it with a new one. by ScegliAuto More videos
|
|
For advertising on this site Write to info@scegliauto.com
ScegliAuto is not responsible for any inaccuracy of the data in the lists. To report any inaccuracy or your business (if you own the business in question), please write to info@scegliauto.com
Number of seconds to generate the page: 0.062
(c) ScegliAuto 2026 - info@scegliauto.com - Privacy policy VAT number: IT01247470535 |
