
|
Do it yourself
| |||
| ||||


Replacement rear swing arm bushings
Model: Honda Civic
MK 8
- Years 2006-2012 To replace the bush (or silentblock) of the rear suspension oscillating arm, it is necessary to remove the arm itself from the car. Therefore, lift the car on a lift, remove the wheel in correspondence with the suspension to be repaired (it is also necessary to remove the drum and the shoes to release the handbrake cable and the brake oil pipe connected to the piston) . Then remove the fixing pins of the swinging arm and remove it to place it on a workbench. Before removing the old bushing, make reference marks for the position of the bushing. Then extract the bushing with a hammer and insert the new one following the references previously reported. Reposition the rocker arm by refitting all the fixing pins and fixing the cable guides of the handbrake and of the brake hose in the appropriate holes. Finally, reassemble the shoes (paying attention to the positioning of the levers and springs), the drum and the wheel.
Posted on 28 June 2023 by ScegliAuto
 How to replace the swing arm on a Honda Civic
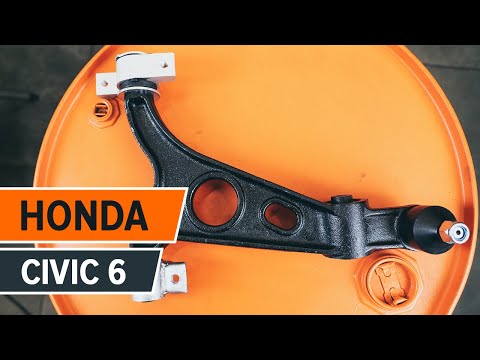
Honda Civic (1995-2001 / MK 6) Before we can begin, we will have to go and raise the front of our Honda Civic. So let's start by disassembling and removing the front wheel, unscrew 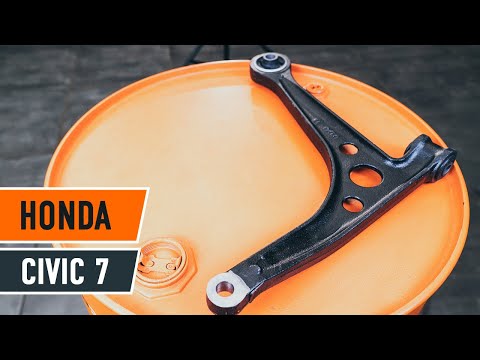 How to replace the swing arm of the Honda Civic
Honda Civic (2001-2006 / MK 7) If the swinging arm of the suspension has to be replaced, lift the car on the bridge and remove the front wheel to have more room for maneuver; then  Front swing arm head replacement
Honda Civic (1992-1995 / MK 5) The head of the oscillating arm of the front suspension is forced into the front hub: to be able to replace it, it is therefore necessary to free the Other guides that may interest you
|
How do you reset the tire pressure light on the Toyota Aygo X?
To reset the tire pressure warning light on the Toyota Aygo X, you need to inflate the tires until they reach the recommended pressure value: this will be indicated on the sticker attached to the driver's side door pillar. Once the tires are inflated, you can go inside the cabin and turn on the instrument panel: after it has been turned on, you can open the glove box on the passenger side and locate the SET button that must be held down to turn off the warning light. by ScegliAuto More videos
|
|
For advertising on this site Write to info@scegliauto.com
ScegliAuto is not responsible for any inaccuracy of the data in the lists. To report any inaccuracy or your business (if you own the business in question), please write to info@scegliauto.com
Number of seconds to generate the page: 0.076
(c) ScegliAuto 2025 - info@scegliauto.com - Privacy Policy VAT number: IT01247470535 |