
|
Do it yourself
| |||
| ||||


How to Replace a Ball Joint Arm
Model: Honda Civic
MK 6
- Years 1995-2001
First, loosen the wheel nuts. Next, lift the car using a ramp or a hydraulic jack. Complete the wheel removal, then use a tool to open the bent metal around the hub nut. Use a spanner to loosen the nut. If you are using a jack, reposition it to lift the car as high as possible. Place additional axle stands and reposition the jack. Remove the safety pin and loosen the nut, always assessing the type of work and the tools available to avoid being unable to complete the task. Continue by unscrewing the brake hose support. Since these screws are exposed to dirt, it is advisable to use cleaning products to avoid forcing and damaging the thread. Use a flat bar to widen the brake calipers. Unscrew the screws and remove the brake caliper block and the disc. Use a hammer to knock out the pin as shown in the video. At this point, use the extractor to remove the joint. Required tools: bench vice, hydraulic jack, axle stands, penetrating spray, torch, hammer, joint extractor, split pins, socket wrench, sockets 19-17-12 mm, needle-nose pliers, and possibly an air impact wrench.
Updated on 10 February 2026 by ScegliAuto
Video tutorial
Related tutorials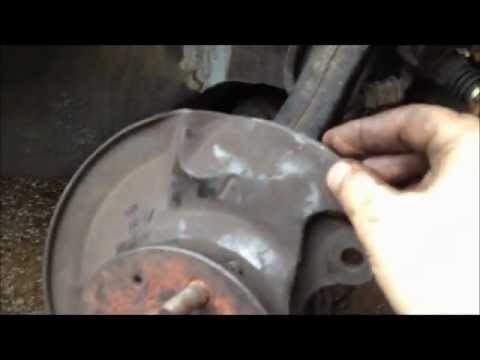
Honda Civic
(1992-1995 /
MK 5)
The ball joint of the front suspension wishbone is pressed into the front hub; therefore, to replace it, you need to free the hub to apply a puller. …
Honda Civic
(1995-2001 /
MK 6)
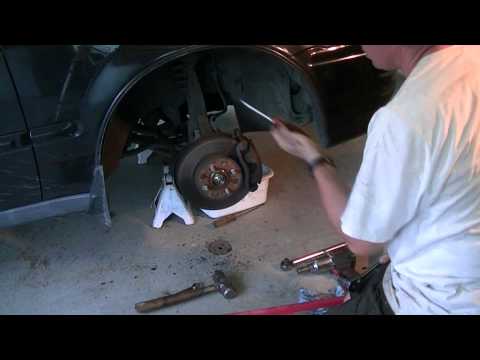
First, diagnose the driveshaft fault by checking for noise when turning the steering wheel to its limits.
Lift the vehicle on a lift or with a jack (…
Honda Civic
(1995-2001 /
MK 6)
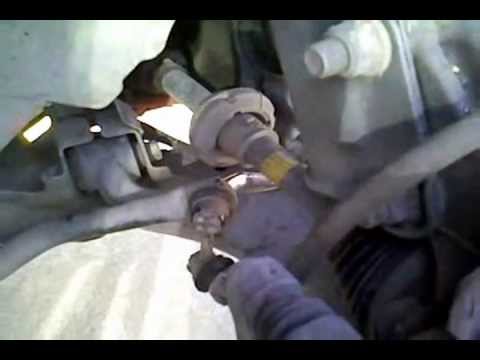
Replacing the links that connect the stabiliser bar to the wishbone is a very simple task. To unscrew the nut securing the ball joint, you need to lo…
Other guides you may be interested in
|
How to Check the Oil Level on a Jeep Renegade?
To check the oil level on a Jeep Renegade, you need to open the bonnet to access the components inside the engine bay: on the lower left side of the engine block, you will find the dipstick for checking the level. This should be pulled out and thoroughly cleaned with a cloth: once cleaned, reinsert it back into its tube and pull it out immediately after. This way, you can check that the oil mark is between the minimum and maximum levels; finally, you can place the dipstick back in its tube. by ScegliAuto More videos
|
|
For advertising on this site Write to info@scegliauto.com
ScegliAuto is not responsible for any inaccuracy of the data in the lists. To report any inaccuracy or your business (if you own the business in question), please write to info@scegliauto.com
Number of seconds to generate the page: 0.062
(c) ScegliAuto 2026 - info@scegliauto.com - Privacy policy VAT number: IT01247470535 |
