
|
Do it yourself
| |||
| ||||


Camber Kit Installation Instructions
Model: Honda Civic
MK 6
- Years 1995-2001
Lift the vehicle with a jack at the wheel where you will perform the installation (it is recommended to use a car stand for safety) and remove the wheel. Unscrew the fixing bolts of the suspension arm from both the chassis side and the hub support and remove it. After properly lubricating the threaded holes and bolts, install the new adjustable-length arm and tighten the fixing bolts correctly. Repeat the same process on the other wheel. After installation, it is advisable to check the camber of the tyres with computerised alignment.
Updated on 4 February 2026 by ScegliAuto
Video tutorial
Related tutorials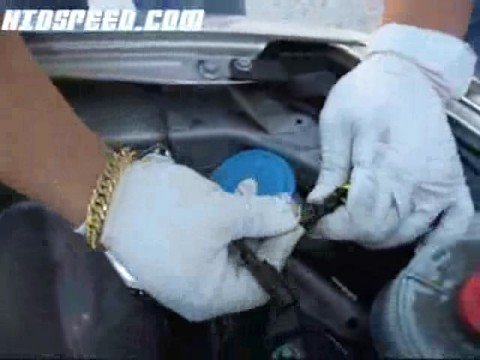
Honda Civic
(1995-2001 /
MK 6)
First, check the compatibility of the Xenon kit with the vehicle, ensure all components are present (two bulbs, two control units, and the wiring har…
Honda Civic
(1995-2001 /
MK 6)
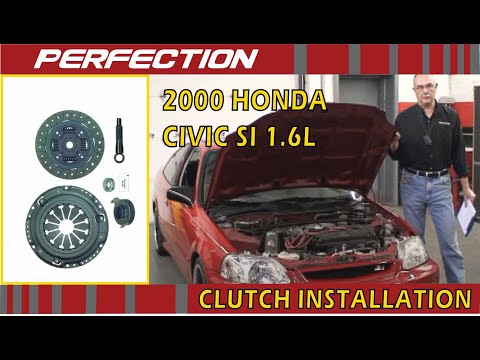
It is recommended to carry out this repair only if you have good mechanical knowledge, as replacing the clutch requires removing the gearbox: the vid…
Honda Civic
(1995-2001 /
MK 6)
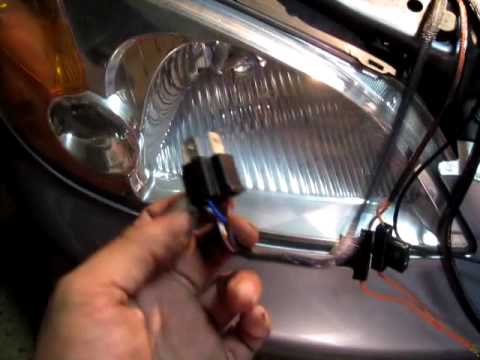
Open the front bonnet and remove the protective cap from the headlight bulb holder; then disconnect the H4 bulb plug to be replaced with that of the …
Other guides you may be interested in
|
How to Open the Bonnet on the Lancia Y
To open the bonnet on this vehicle, follow these simple instructions: first, open the driver's door and locate the lever positioned just below the dashboard, marked with an image of the vehicle with the bonnet open. Pull this lever towards you until you hear a "click" indicating the bonnet is released. Next, exit the cabin and stand in front of the bonnet to disengage the safety catch and complete the opening. To do this, slightly lift the bonnet, locate the yellow lever underneath, and pull it to the left to fully release and open the bonnet. by ScegliAuto More videos
|
|
For advertising on this site Write to info@scegliauto.com
ScegliAuto is not responsible for any inaccuracy of the data in the lists. To report any inaccuracy or your business (if you own the business in question), please write to info@scegliauto.com
Number of seconds to generate the page: 0.286
(c) ScegliAuto 2026 - info@scegliauto.com - Privacy policy VAT number: IT01247470535 |
