
|
Do it yourself
| |||
| ||||


Clutch Installation Instructions
Model: Honda Civic
MK 6
- Years:
1995, 1996, 1997, 1998, 1999, 2000, 2001
Video tutorial
It is recommended to carry out this repair only if you have good mechanical knowledge, as replacing the clutch requires removing the gearbox: the video shows only the replacement of the clutch kit after the gearbox has already been removed. Once the vehicle is lifted on a hydraulic ramp and the gearbox has been removed, unscrew the fixing bolts of the clutch assembly (disc, pressure plate, and release bearing) and take it out until the flywheel is visible, which should be checked for wear. Before proceeding with the installation of the new clutch, grease the gearbox input shaft and check the free movement of the clutch disc on the splines; repeat the same operation for the release bearing and the engagement mechanism. Then, apply the new bearing and the respective fork lever in the gearbox. Install the new flywheel and clean it with solvent to remove any protective oil residues. Then, apply the new disc and pressure plate using the appropriate alignment tool. Finally, position the gearbox alignment dowels and reassemble the gearbox.
Updated on 4 February 2026 by ScegliAuto
Related tutorials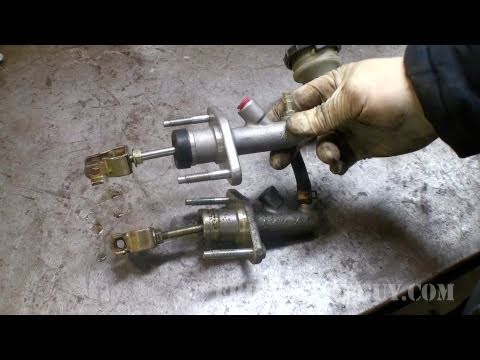
Honda Civic
(1995-2001 /
MK 6)
Open the front bonnet and ensure it is securely supported; at the rear right of the engine bay (when viewed from the front), you can locate the clutc…
Honda Civic
(1995-2001 /
MK 6)
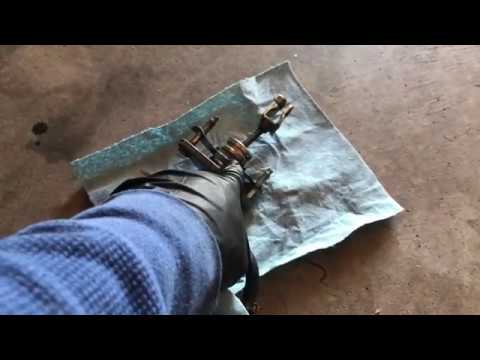
In this guide, remove and replace the clutch pump or master cylinder on your Honda Civic. First, open the bonnet of your car and start by removing th…
Honda Civic
(1995-2001 /
MK 6)
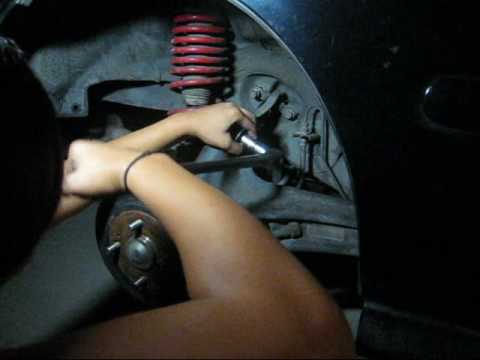
Lift the vehicle with a jack at the wheel where you will perform the installation (it is recommended to use a car stand for safety) and remove the wh…
Other guides you may be interested in
|
How to Remove the Rear Seat of a Hyundai Tucson?
To remove the rear seat of a Hyundai Tucson, follow these steps. Start by moving the front seats to their most forward position to gain space. Next, locate the release lever on the underside of the rear seat, near the floor. Press this lever down while pulling the seat upwards to unlock it from the anchor pins. Once unlocked, tilt the seat upwards and forwards to remove it from its position. Repeat this process for both sides of the rear seat. Be careful of any electrical cables or components that may be connected to the seat during removal. Once the rear seat is removed, the disassembly is complete. by ScegliAuto More videos
|
|
For advertising on this site Write to info@scegliauto.com
ScegliAuto is not responsible for any inaccuracy of the data in the lists. To report any inaccuracy or your business (if you own the business in question), please write to info@scegliauto.com
Number of seconds to generate the page: 0.091
(c) ScegliAuto 2026 - info@scegliauto.com - Privacy policy VAT number: IT01247470535 |
