
|
Do it yourself
| |||
| ||||


How to Replace the Rear Light of the Honda CR-V
Model: Honda CR-V
MK 2
- Years 2002-2007
To replace the rear light of the CR-V, open the boot and remove the plastic cover located at the top of the light. Unscrew the screw inside it. Also, unscrew the screw at the bottom and the one in the middle of the same light. Now the light is almost completely free and in the ideal position to replace any faulty bulbs. To fully remove the light, take out the mat from the boot and the corresponding panels underneath it. Now unscrew the two screws holding the plastic cover of the lock and remove it. Next, unscrew the screw of the side cover and, after removing the jack and tools from their compartment, detach the same cover to create space for the work. Now, disconnect the internal electrical connectors of the light and remove it completely. To install the new part, reconnect the wiring of the new light and position it correctly in its place. Then connect the internal wiring, reposition the corresponding plastic cover, and secure it by tightening its screw. Place the jack and tools back in their place and reattach the plastic cover of the lock. Finally, replace the lining in the boot, followed by the panel and mat. Screw in the 3 screws that hold the light and check its proper functioning.
Updated on 29 May 2026 by ScegliAuto
Video tutorial
Related tutorials
Honda CR-V
(2007-2012 /
MK 3)
Today, we will go through the instructions to remove the rear lamp and replace the brake light bulbs on the Honda CR-V. First, open the boot and star…
Honda CR-V
(2002-2007 /
MK 2)
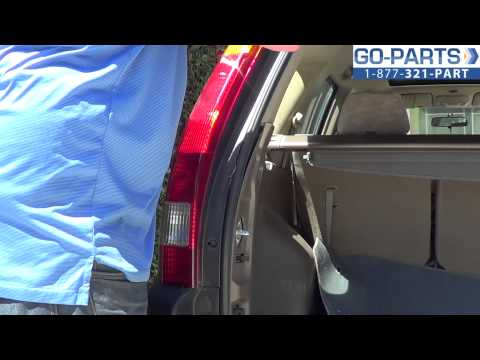
To remove the rear light, first open the rear hatch and locate the protective caps over the fixing screws of the light, positioned along the inner ed…
Honda CR-V
(2007-2012 /
MK 3)
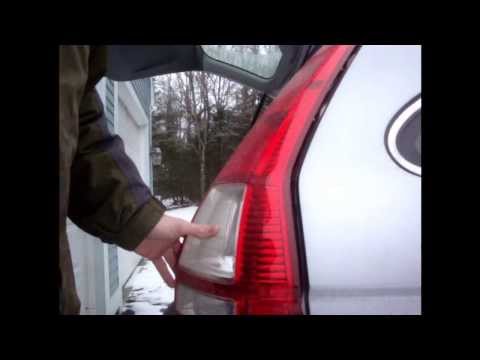
To replace the rear light bulb on the Honda CR-V, open the tailgate of the boot and remove the protective caps of the screws located between the seal…
Other guides you may be interested in |
How to Open a Stuck Boot on the Peugeot 407?
On the Peugeot 407, the boot may become stuck, possibly due to a problem with the control button or the lock actuator. In such cases, you can perform an emergency opening by following the simple procedure shown in this tutorial. First, open the rear doors, then lower the seat back by operating the release lever. Next, go inside the boot, locate the lock, and manually operate it using a flathead screwdriver. The boot will then be free to open. by ScegliAuto More videos
|

|
For advertising on this site Write to info@scegliauto.com
ScegliAuto is not responsible for any inaccuracy of the data in the lists. To report any inaccuracy or your business (if you own the business in question), please write to info@scegliauto.com
Number of seconds to generate the page: 0.193
(c) ScegliAuto 2026 - info@scegliauto.com - Privacy policy VAT number: IT01247470535 |
