
|
Do it yourself
| |||
| ||||


The importance of cleaning carbon residues from the rear drum of a Hyundai I20
Model: Hyundai I20
GB, IB, MK 2
- Years 2014-2021
A check that is often overlooked, not only on the Hyundai I20, is the periodic cleaning of the rear drums from carbon residue. This residue, resulting from brake pad wear, can accumulate inside the drums and cause various problems, such as reduced braking effectiveness that can also generate annoying noises and abnormal vibrations; premature wear of the drums and shoes, and in extreme cases even brake lock-up. Cleaning the drums is a relatively simple operation that can be done independently: we will need to remove the rear wheel and the drum, then with a metal brush and a specific detergent, we will remove the dust and residue inside the drum and shoes, also checking for signs of excessive wear or damage: then we can reassemble the wheel and drum. This periodic cleaning should be done every 20/30,000 km approximately: it depends on road conditions and driving style.
Posted on 24 March 2025 by ScegliAuto
Video tutorial
Related tutorials
Hyundai I20
(2008-2014 /
MK 1, PB)
Today's video tutorial will show us how to disassemble and replace the rear headlight bulbs, specifically the brake light, of the Hyundai I20. First,…
Hyundai I20
(2014-2021 /
GB, IB, MK 2)
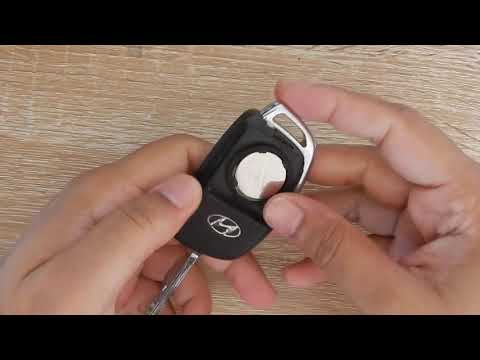
Is the battery in your Hyundai I20 key dead? Want to replace it? Here's how to disassemble the key. Take the remote key and separate the piece: remov…

Hyundai I20
(2008-2014 /
MK 1, PB)
A highlight, the car shown in the video is a Hyundai I10, but since the operating procedure explained is identical to the Hyundai I20, it can be cons…
Other guides you may be interested in
|
How to Repair the Key Spring of the Peugeot 207?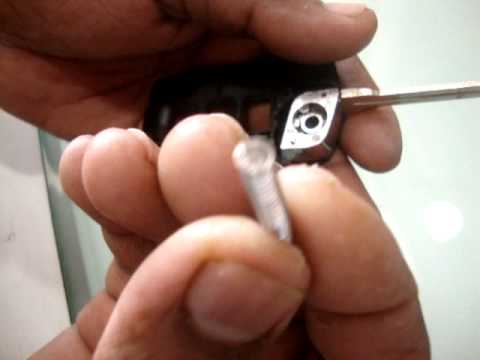
Over time, frequent use of the key's flip mechanism in the vehicle, dozens of times a day, inevitably leads to wear of the internal spring. As shown in this video, replacing the spring is quite simple and takes little time. After opening the casing halfway, first position the key, then the spring housing, and finally insert the spring into the previously mentioned housing. Close the casing by rotating it clockwise, ensuring all components fit perfectly, and test the key's flip mechanism. by ScegliAuto More videos
|

|
For advertising on this site Write to info@scegliauto.com
ScegliAuto is not responsible for any inaccuracy of the data in the lists. To report any inaccuracy or your business (if you own the business in question), please write to info@scegliauto.com
Number of seconds to generate the page: 0.199
(c) ScegliAuto 2026 - info@scegliauto.com - Privacy policy VAT number: IT01247470535 |
