
|
Do it yourself
| |||
| ||||


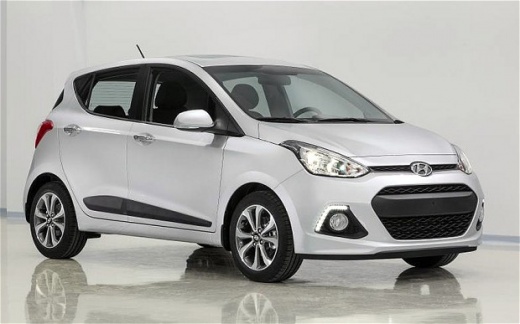
Removing the Rear Bumper on a Hyundai i10
Model: Hyundai I10
MK 2, IA
- Years:
2013, 2014, 2015, 2016, 2017, 2018, 2019, 2020
Video tutorial
Is the rear bumper damaged? Let’s remove and replace it on a Hyundai i10. Using a screwdriver or battery-powered drill, unscrew the retaining screws located at the top of the bumper (if the model is equipped), then remove the rear lights and the screws on the sides, unscrew the retaining screws located in the wheel arch liners (under the mudguard). Once the bumper is free from any screws or pins, grasp it with your hands and pull it away from the bodywork, disconnect any wiring connectors. Fit the new bumper, the lights, and all the screws removed.
Updated on 16 March 2026 by ScegliAuto
Related tutorials
Hyundai I10
(2007-2013 /
PA, MK 1)
Today, you will see the main instructions on how to remove and replace the front bumper on the Hyundai I10. First, open the car's bonnet and start un…

Hyundai I10
(2007-2013 /
PA, MK 1)
Is the front bumper broken? Remove it from the front of a Hyundai i10. Lift the bonnet and secure it. Use a socket spanner to undo the fastening scre…

Hyundai I10
(2013-2020 /
MK 2, IA)
This video shows how to replace the external wing mirror on the Hyundai i10 as a complete unit. Use a flat screwdriver to detach the plastic at the i…
Other guides you may be interested in
|
How to Reset the Tire Pressure Light on a MG ZS?
On the instrument cluster of the MG ZS, the tire pressure light that appears can be reset by inflating the tires to the correct pressure: this value will be indicated on the sticker attached to the driver's door pillar. Once the tires have been properly inflated, you can turn on the instrument cluster and navigate through the menu until you find the option that indicates tire pressure: if this screen shows the new values, the light will turn off; otherwise, you will need to drive for a few miles so that the sensors can read the new values and turn off the light afterward. by ScegliAuto More videos
|
For advertising on this site Write to info@scegliauto.com
ScegliAuto is not responsible for any inaccuracy of the data in the lists. To report any inaccuracy or your business (if you own the business in question), please write to info@scegliauto.com
Number of seconds to generate the page: 0.078
(c) ScegliAuto 2026 - info@scegliauto.com - Privacy policy VAT number: IT01247470535 |
