
|
Do it yourself
| |||
| ||||



How to Install the Illuminated Scuff Plate on the Hyundai Tucson
Model: Hyundai Tucson
MK 3, TL
- Years:
2015, 2016, 2017, 2018, 2019, 2020, 2021
Video tutorial
In this video, see how to install the illuminated scuff plate on the Hyundai Tucson. First, remove the factory scuff plate from the vehicle, clean the area thoroughly, and remove part of the seal. Now install the illuminated threshold, applying moderate pressure for fitting. Refit the seal and clean the lower part of the door for the magnet application, which should be placed in line with the slot on the door. Test the functionality before installing the magnets. Repeat on the other door. We couldn't find these specific scuff plates for Hyundai, but we found some nice ones on Amazon with the code B0BM4P67F4 at a price of £69.99, including delivery.
Updated on 24 July 2026 by ScegliAuto
Related tutorials
Hyundai Tucson
(2010-2015 /
MK 2, LM)
Having a functioning number plate light on your Hyundai Tucson Mk2 is very important from a legal standpoint, so it is essential to know the various …

Hyundai Tucson
(2015-2021 /
MK 3, TL)
In this video we can see how to install protection on the ECU of our Hyundai Tucson, in order to protect it from thefts, which now pass through it to…
Hyundai Tucson
(2015-2021 /
MK 3, TL)
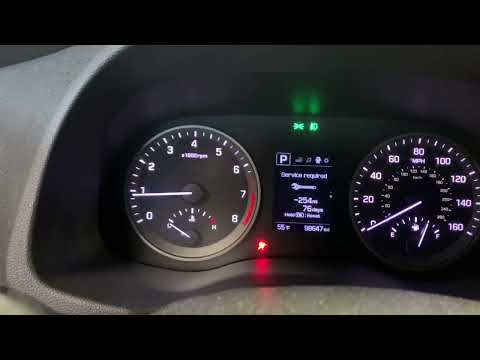
In this guide, you will discover how to correctly perform the manual reset of the service light that stays illuminated every time you start the instr…
Other guides you may be interested in |
How to Remove the Rear Seat of a Hyundai Tucson?
To remove the rear seat of a Hyundai Tucson, follow these steps. Start by moving the front seats to their most forward position to gain space. Next, locate the release lever on the underside of the rear seat, near the floor. Press this lever down while pulling the seat upwards to unlock it from the anchor pins. Once unlocked, tilt the seat upwards and forwards to remove it from its position. Repeat this process for both sides of the rear seat. Be careful of any electrical cables or components that may be connected to the seat during removal. Once the rear seat is removed, the disassembly is complete. by ScegliAuto More videos
|
|
For advertising on this site Write to info@scegliauto.com
ScegliAuto is not responsible for any inaccuracy of the data in the lists. To report any inaccuracy or your business (if you own the business in question), please write to info@scegliauto.com
Number of seconds to generate the page: 0.009
(c) ScegliAuto 2026 - info@scegliauto.com - Privacy policy VAT number: IT01247470535 |
