
|
Do it yourself
| |||
| ||||



How to Change LPG Filters - on a BRC System - on a Hyundai I10
Model: Hyundai I10
PA, MK 1
- Years:
2007, 2008, 2009, 2010, 2011, 2012, 2013
Video tutorial
To replace the LPG filters on a BRC system fitted to a Hyundai I10, you need to change both the liquid phase filter and the gas phase filter. First, disconnect the connector from the solenoid valve and loosen the fitting. Some gas will escape from the pipe. Use a 17 mm spanner to open the solenoid valve. Inside is the filter, which you will replace. Typically, this should be done after 9,300 miles. Be careful with the seals (there are 3). You can find the two filters complete with seals on Amazon for £17.94 (brand: LPG Megastore). Clean the area thoroughly and refit the filter in its place. Now, refit the solenoid valve following the reverse instructions. Next, remove the other filter: there is a screw to unscrew, move a pipe, or - even better - remove it completely. Open it up. Again, replace the filter and O-ring after cleaning the seating. Refit it in its place and put everything back together. Tighten the fittings securely. Job done.
Updated on 4 August 2026 by ScegliAuto
Related tutorials
Hyundai I10
(2007-2013 /
PA, MK 1)
In this video, we will see how to reset and repair the flashing LPG indicator and level on a first series Hyundai I10. First, open the boot and remov…

Hyundai I10
(2019-2026 /
AC3, AI3)
In this new mini guide of ours, we will help you manually change the system language of the menu of your Hyundai I10. First, you need to enter the in…
Hyundai I10
(2019-2026 /
AC3, AI3)
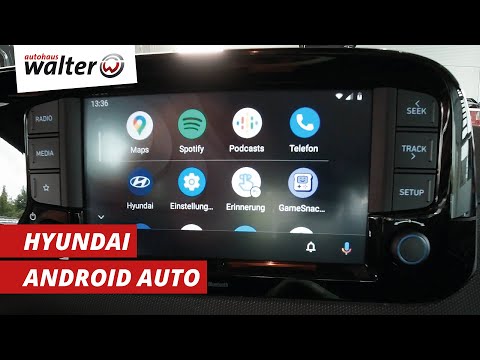
Follow the procedure below to pair your smartphone with the Hyundai I10 multimedia system via Bluetooth using Android Auto or Apple CarPlay. First, g…
Other guides you may be interested in
|
How to Open the Hood of the BMW X3
Today, you will learn how to open and close the hood of the BMW X3. To perform this simple operation, lift the hood release lever located next to the door seal on the driver’s side. After pulling the lever, you will notice that the hood will lift slightly. Position yourself in front of the hood and lift it after moving the internal lever from left to right. To keep the hood secure during maintenance, use the side support rod. To close the hood, simply let it fall back into place. by ScegliAuto More videos
|
|
For advertising on this site Write to info@scegliauto.com
ScegliAuto is not responsible for any inaccuracy of the data in the lists. To report any inaccuracy or your business (if you own the business in question), please write to info@scegliauto.com
Number of seconds to generate the page: 0.064
(c) ScegliAuto 2026 - info@scegliauto.com - Privacy policy VAT number: IT01247470535 |
