
|
Do it yourself
| |||
| ||||


PCV Valve Cleaning Instructions
Model: Hyundai Sonata
- Years:
2004, 2005, 2006, 2007, 2008, 2009, 2010, 2011, 2012, 2013, 2014
Video tutorial
The movement of air beneath the cylinders allows oil to be injected more quickly onto the cylinder walls, but it can alter the direction and quantity per side. For better lubrication and thermal efficiency, in sports engines, the sump is kept depressurised (0.4 bar below atmospheric pressure, equal to 1). This depressurisation can be achieved by allowing air to escape, using specific machinery, or if the engine is not multi-cylinder or lacks windows, a special "PCV" (Positive Crankcase Ventilation) valve can be used, which allows air to escape when it becomes too compressed, preventing backflow, thus maintaining lower pressure during piston ascent or through recovery pumps. The air that exits the valve is contaminated with oil vapours and unburnt fuel, which can clog it, reducing efficiency, so it must be cleaned or replaced as necessary. On the car model in question, the valve is located at the front left of the sump, and you need to disconnect the hose before unscrewing it.
Updated on 18 February 2026 by ScegliAuto
Related tutorials
Hyundai Sonata
(2004-2014 /
)
The fuel tank breather valve may become stuck, causing the fault light to illuminate and storing the related error code (P2422). In case of blockage,…

Hyundai Sonata
(2010-2015 /
MK 6, YF)
In a Hyundai Sonata, it may happen that the fuel door gets stuck, for example, due to a fault in the control button or the lock actuator. In such cas…
Hyundai Sonata
(2004-2014 /
)
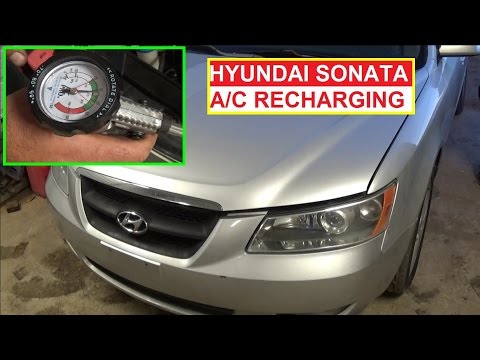
If the air coming from the vents is not sufficiently cool when the air conditioning is activated, there may not be enough gas in the system for the c…
Other guides you may be interested in
|
How to Remove the Rear Seat of a Hyundai Tucson?
To remove the rear seat of a Hyundai Tucson, follow these steps. Start by moving the front seats to their most forward position to gain space. Next, locate the release lever on the underside of the rear seat, near the floor. Press this lever down while pulling the seat upwards to unlock it from the anchor pins. Once unlocked, tilt the seat upwards and forwards to remove it from its position. Repeat this process for both sides of the rear seat. Be careful of any electrical cables or components that may be connected to the seat during removal. Once the rear seat is removed, the disassembly is complete. by ScegliAuto More videos
|
|
For advertising on this site Write to info@scegliauto.com
ScegliAuto is not responsible for any inaccuracy of the data in the lists. To report any inaccuracy or your business (if you own the business in question), please write to info@scegliauto.com
Number of seconds to generate the page: 0.032
(c) ScegliAuto 2026 - info@scegliauto.com - Privacy policy VAT number: IT01247470535 |
