
|
Do it yourself
| |||
| ||||


Window Regulator Repair with Repair Kit
Model: Jeep Grand Cherokee
MK 2, WJ
- Years 1998-2004
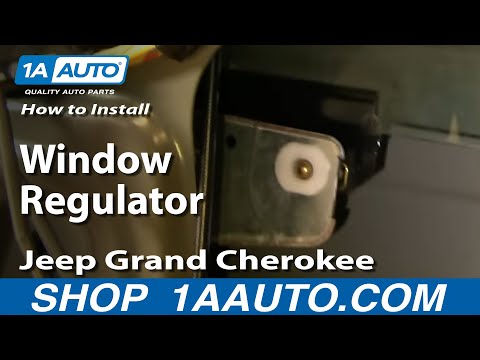
The first operation is to remove the door panel: unscrew the various fixing screws and, using a flathead screwdriver, pry along the edges to release the clips; disconnect the connectors and the cable for the opening handle to remove it completely. Next, remove the speaker and detach the plastic covering, taking care not to tear it. At this point, unscrew the fixing pins of the window regulator, release the clamps holding the glass to remove it, and complete the disassembly of the window regulator along with the motor. Disconnect the plastic guides and extract the central support to mill the damaged central plastic insert that serves as a support for the ends of the cables; remove it to apply the metal one fixed with a bracket and screws. Attach the cables to the new support and reassemble everything in reverse order.
Updated on 6 February 2026 by ScegliAuto
Video tutorial
Related tutorials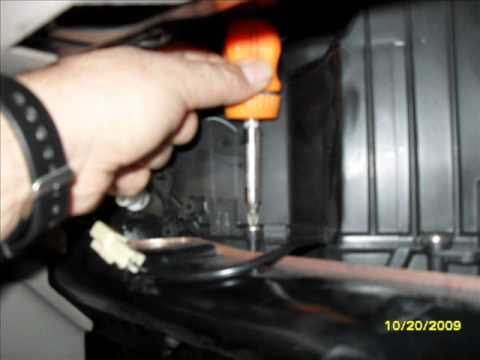
Jeep Grand Cherokee
(1998-2004 /
MK 2, WJ)
If no hot air is coming from the air conditioning system, from one side or both, you can diagnose the air conditioning system without diagnostic tool…

Jeep Grand Cherokee
(2004-2010 /
WK, MK 3, WH)
Clear the glove compartment. Unscrew the three screws on the handle using a Torx key size 3. Remove the handle by sliding it off the opening knob. Un…
Jeep Grand Cherokee
(1992-1998 /
ZG, MK 1, ZJ)
Clean the glove compartment. Unscrew the three screws located on the handle using a Torx key size 3. Remove the handle by sliding it off the opening …
Other guides you may be interested in
|
How to Replace the Battery on a Honda Vision 110
To replace the battery on a Honda Vision 110, you need to remove the front fairing of the motorcycle, located directly under the front headlamp. To loosen this panel, unscrew the two screws found at its top, just below the handlebar. Once these screws are loosened, lever under the panel to detach it, gaining access to the battery underneath: this battery must be removed from its housing by unscrewing the fixing screws and disconnecting the power cables, replacing it with a new one. by ScegliAuto More videos
|
|
For advertising on this site Write to info@scegliauto.com
ScegliAuto is not responsible for any inaccuracy of the data in the lists. To report any inaccuracy or your business (if you own the business in question), please write to info@scegliauto.com
Number of seconds to generate the page: 0.197
(c) ScegliAuto 2026 - info@scegliauto.com - Privacy policy VAT number: IT01247470535 |
