
|
Do it yourself
| |||
| ||||


Aftermarket Kit for Repairing Hot Air Mixing Flaps
Model: Jeep Grand Cherokee
MK 2, WJ
- Years:
1998, 1999, 2000, 2001, 2002, 2003, 2004
Video tutorial
If no hot air is coming from the air conditioning system, from one side or both, you can diagnose the air conditioning system without diagnostic tools: turn the air distribution knob to the front vents, press the air conditioning button and the recirculation button simultaneously for a few seconds, then turn the temperature control knob; at this point, codes (5.2 and 5.6) will appear on the air conditioning display indicating the failure of the mixing flaps. The repair would require dismantling and considerable cost: fortunately, it is possible to purchase an aftermarket repair kit complete with instructions that guide you through the repair quickly, although it is somewhat invasive. To access the flaps, you would practically need to dismantle the dashboard, but you can reach them by removing the glove compartment and cutting portions of the air distribution duct. Once the flaps are restored, the problem will be solved: flaps down for cold air and up for hot air.
Updated on 7 February 2026 by ScegliAuto
Related tutorials
Jeep Grand Cherokee
(1998-2004 /
MK 2, WJ)
This video demonstrates the repair and replacement of the hinges of the air mixture actuator flap. The vehicle in question is a Jeep Grand Cherokee. …

Jeep Grand Cherokee
(1998-2004 /
MK 2, WJ)
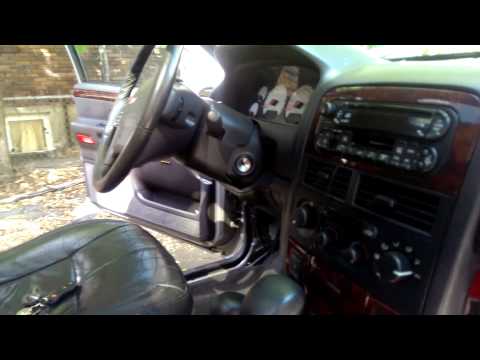
The first operation is to remove the door panel: unscrew the various fixing screws and, using a flathead screwdriver, pry along the edges to release …
Jeep Grand Cherokee
(1998-2004 /
MK 2, WJ)
The heating system in a car operates through a device similar to a small radiator that blows warm air to heat the interior of the vehicle. It is advi…
Other guides you may be interested in
|
How to Remove the Rear Seat of a Hyundai Tucson?
To remove the rear seat of a Hyundai Tucson, follow these steps. Start by moving the front seats to their most forward position to gain space. Next, locate the release lever on the underside of the rear seat, near the floor. Press this lever down while pulling the seat upwards to unlock it from the anchor pins. Once unlocked, tilt the seat upwards and forwards to remove it from its position. Repeat this process for both sides of the rear seat. Be careful of any electrical cables or components that may be connected to the seat during removal. Once the rear seat is removed, the disassembly is complete. by ScegliAuto More videos
|
|
For advertising on this site Write to info@scegliauto.com
ScegliAuto is not responsible for any inaccuracy of the data in the lists. To report any inaccuracy or your business (if you own the business in question), please write to info@scegliauto.com
Number of seconds to generate the page: 0.033
(c) ScegliAuto 2026 - info@scegliauto.com - Privacy policy VAT number: IT01247470535 |
