
|
Do it yourself
| |||
| ||||


Repairing Actuator Hinge
Model: Jeep Grand Cherokee
MK 2, WJ
- Years:
1998, 1999, 2000, 2001, 2002, 2003, 2004
This video is currently unavailable
This video demonstrates the repair and replacement of the hinges of the air mixture actuator flap. The vehicle in question is a Jeep Grand Cherokee. The flap hinges, mounted within the heating and cooling system, serve to move the panels that divert hot or cold air through various passages in the system to maintain the passenger at the desired temperature. After showing the broken part and the new ones, it explains how to disconnect and remove the motor that controls its movement. The pin that allows the movement of the two panels is then extracted. They are removed and, as can be seen, are indeed damaged. They are replaced with two completely new ones, and their operation is verified. The pin that regulates the movement is then reinserted, after which the motor is remounted and its connection restored.
Updated on 10 February 2026 by ScegliAuto
Related tutorials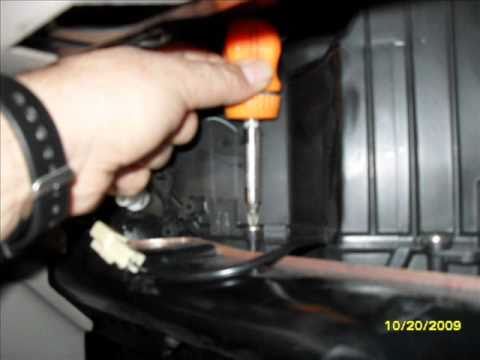
Jeep Grand Cherokee
(1998-2004 /
MK 2, WJ)
If no hot air is coming from the air conditioning system, from one side or both, you can diagnose the air conditioning system without diagnostic tool…

Jeep Grand Cherokee
(2010-2021 /
WK2, MK 4)
The instructions in this guide will illustrate the procedure for removing and replacing the Uconnect multimedia system and radio in a Jeep Grand Cher…

Jeep Grand Cherokee
(2004-2010 /
WH, WK, MK 3)
How do you remove the radio from a Jeep Grand Cherokee? Start by removing the trim around the radio and the air conditioning controls. Next, undo the…
Other guides you may be interested in |
How to Remove the Rear Seat of a Hyundai Tucson?
To remove the rear seat of a Hyundai Tucson, follow these steps. Start by moving the front seats to their most forward position to gain space. Next, locate the release lever on the underside of the rear seat, near the floor. Press this lever down while pulling the seat upwards to unlock it from the anchor pins. Once unlocked, tilt the seat upwards and forwards to remove it from its position. Repeat this process for both sides of the rear seat. Be careful of any electrical cables or components that may be connected to the seat during removal. Once the rear seat is removed, the disassembly is complete. by ScegliAuto More videos
|
|
For advertising on this site Write to info@scegliauto.com
ScegliAuto is not responsible for any inaccuracy of the data in the lists. To report any inaccuracy or your business (if you own the business in question), please write to info@scegliauto.com
Number of seconds to generate the page: 0.020
(c) ScegliAuto 2026 - info@scegliauto.com - Privacy policy VAT number: IT01247470535 |
