
|
Do it yourself
| |||
| ||||


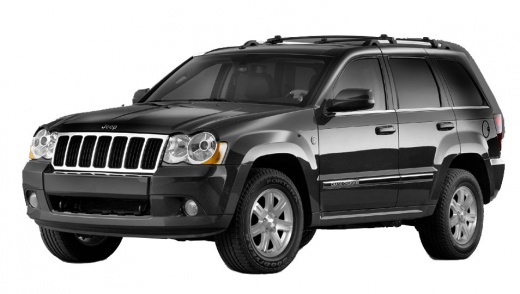
Check Brake Pedal Switch Electrical System
Model: Jeep Grand Cherokee
WH, WK, MK 3
- Years:
2004, 2005, 2006, 2007, 2008, 2009, 2010
Video tutorial
On all cars with automatic transmission, you must press the brake pedal to allow engine start and subsequently engage the gears. If pressing the brake pedal does not engage the gears and the rear brake lights do not illuminate, focus on the brake pedal switch and its wiring. Note that near the gear lever, there is a slot where you can press to unlock the safety and move the gear lever, in case you need to tow the car due to a breakdown. To carry out the various checks, it is advisable to have the vehicle wiring diagram available for consultation to go directly to the source of the problem. The first thing to check is the fuse protecting the brake switch: if it has blown and continues to blow even after replacement, there is likely a short circuit. Start by removing the rear lights to isolate that part of the system; if the problem persists, check the wiring of the power connector for the brake switch and finally the switch itself, testing its operation with a multimeter. If everything is functioning, examine the entire wiring diagram in detail as the anomaly may reside in the wireless system of the ignition switch: this is a known defect by the manufacturer on many Jeep-Dodge-Chrysler models and has been resolved free of charge even after the warranty has expired.
Updated on 15 February 2026 by ScegliAuto
Related tutorials
Jeep Grand Cherokee
(2010-2021 /
WK2, MK 4)
In this video, see how to activate and deactivate the handbrake on a Jeep Grand Cherokee MK4: ensure the ignition is on and the vehicle is in "P". No…

Jeep Grand Cherokee
(2010-2021 /
WK2, MK 4)
In this video, see how to reset the service light on a Jeep Grand Cherokee: turn on the ignition and press the accelerator pedal fully three times. T…

Jeep Grand Cherokee
(2010-2021 /
WK2, MK 4)
To perform this type of maintenance, you need appropriate diagnostic equipment, the wiring diagrams for the vehicle, and adequate experience: only if…
Other guides you may be interested in
|
How to Remove the Rear Seat of a Hyundai Tucson?
To remove the rear seat of a Hyundai Tucson, follow these steps. Start by moving the front seats to their most forward position to gain space. Next, locate the release lever on the underside of the rear seat, near the floor. Press this lever down while pulling the seat upwards to unlock it from the anchor pins. Once unlocked, tilt the seat upwards and forwards to remove it from its position. Repeat this process for both sides of the rear seat. Be careful of any electrical cables or components that may be connected to the seat during removal. Once the rear seat is removed, the disassembly is complete. by ScegliAuto More videos
|
|
For advertising on this site Write to info@scegliauto.com
ScegliAuto is not responsible for any inaccuracy of the data in the lists. To report any inaccuracy or your business (if you own the business in question), please write to info@scegliauto.com
Number of seconds to generate the page: 0.029
(c) ScegliAuto 2026 - info@scegliauto.com - Privacy policy VAT number: IT01247470535 |
