
|
Do it yourself
| |||
| ||||


How to Remove the Front Doors from the Jeep Wrangler?
Model: Jeep Wrangler
JL, MK 4
- Years 2018-2026
Learn how to easily remove the front doors from a Jeep Wrangler. This is particularly suitable in summer when it is very pleasant to travel 'en plein air'. To remove the door bolts, use a 50 mm Torx screwdriver. You will need to remove the bolts from two hinges, as well as the hinge pin screws, and look under the plastics for the access to the electrical wires beneath the panels. Slide the cover until you detach the tabs to remove it. Do not attempt to push it back or outwards to avoid damaging the plastic. Now it's time to disconnect the electrical connectors; first, press the red button upwards to unlock the latch. You will feel a black button behind the wiring. Press the safety button while pulling up the harness lever. While it is in the open position, press the harness down to disconnect it. Store the connector in the lower basket of the door. Use a 40 mm Torx key to remove the central screw of the door. Now you can remove the door. When you want to put the door back in place, repeat these same operations in reverse, ensuring that the long door support fits into its hole. Remember that the doors are heavy.
Updated on 11 August 2026 by ScegliAuto
Video tutorial
Related tutorials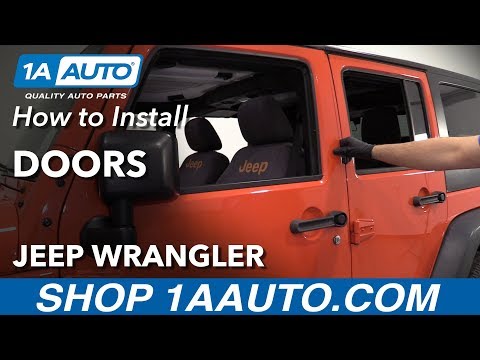
Jeep Wrangler
(2007-2018 /
MK 3, JK)
Want to install the doors on your Wrangler? Let's see how to fit the doors on a Jeep Wrangler. Insert the metal door into the hinge fixed to the Jeep…
Jeep Wrangler
(2007-2018 /
MK 3, JK)
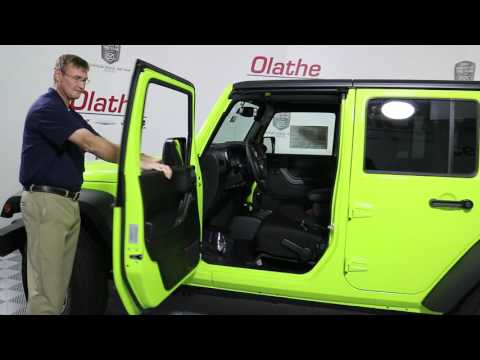
How to remove the doors from your Jeep Wrangler? Follow this guide to remove the door panels: obtain the appropriate tools provided by Jeep, unscrew …
Jeep Wrangler
(2007-2018 /
MK 3, JK)
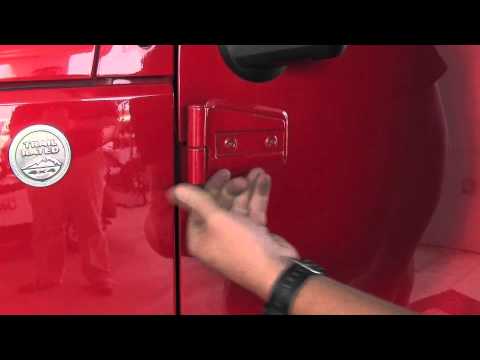
How to remove the doors mounted on your Jeep Wrangler? Follow these steps to disassemble the doors: obtain the specific keys provided by Jeep (in the…
Other guides you may be interested in
|
How to Open a Stuck Boot on the Peugeot 407?
On the Peugeot 407, the boot may become stuck, possibly due to a problem with the control button or the lock actuator. In such cases, you can perform an emergency opening by following the simple procedure shown in this tutorial. First, open the rear doors, then lower the seat back by operating the release lever. Next, go inside the boot, locate the lock, and manually operate it using a flathead screwdriver. The boot will then be free to open. by ScegliAuto More videos
|
|
For advertising on this site Write to info@scegliauto.com
ScegliAuto is not responsible for any inaccuracy of the data in the lists. To report any inaccuracy or your business (if you own the business in question), please write to info@scegliauto.com
Number of seconds to generate the page: 0.338
(c) ScegliAuto 2026 - info@scegliauto.com - Privacy policy VAT number: IT01247470535 |
