
|
Do it yourself
| |||
| ||||


How to change the low beam bulb of the Kia Karens MK3
Model: Kia Carens
MK 3
- Years 2013-2019
In this video we see how to change the low beam bulb of the Kia Cares MK3: we access the rear lights quite easily, as there is enough space behind the vehicle's optical groups, to put our hands and remove the rubber safety caps, to be turned to the left. To disconnect the electrical connectors, instead, we will have to use the opposite arm - in this case it is the right headlight, so we will use the left arm - find the connector in the opposite corner and rotate it from below, in order to be able to remove the bulb holder with the burnt bulb, which is an H7. Let's replace it, always remembering not to touch the bulb with bare hands, and insert it in its place, always facing downwards, then push it well, making sure it is inserted perfectly. Put the rubber cover back in place and check that everything works.
Posted on 5 January 2025 by ScegliAuto
Video tutorial
Related tutorials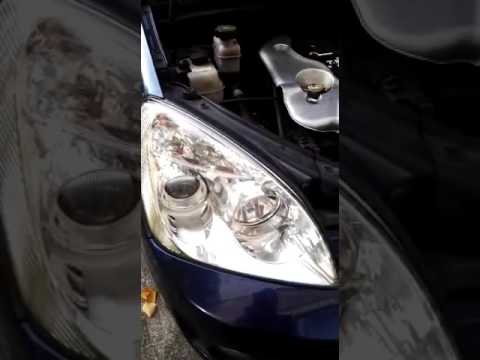
Kia Carens
(2006-2013 /
MK 2)
In this video tutorial, learn how to replace the dipped beam bulb on a Kia Carens mk2, produced from 2006 to 2013. First, disconnect the headlamp wir…

Kia Carens
(2013-2019 /
MK 3)
If you own a third edition Kia Carens and want to locate the fuse box located inside the engine compartment, all you have to do is follow these steps…

Kia Carens
(2013-2019 /
MK 3)
In this video we see how to change the front side indicator light of the Kia Carens MK3: fortunately on this vehicle it is possible to easily access …
Other guides you may be interested in
|
How to Open the Bonnet on the Lancia Y
To open the bonnet on this vehicle, follow these simple instructions: first, open the driver's door and locate the lever positioned just below the dashboard, marked with an image of the vehicle with the bonnet open. Pull this lever towards you until you hear a "click" indicating the bonnet is released. Next, exit the cabin and stand in front of the bonnet to disengage the safety catch and complete the opening. To do this, slightly lift the bonnet, locate the yellow lever underneath, and pull it to the left to fully release and open the bonnet. by ScegliAuto More videos
|

|
For advertising on this site Write to info@scegliauto.com
ScegliAuto is not responsible for any inaccuracy of the data in the lists. To report any inaccuracy or your business (if you own the business in question), please write to info@scegliauto.com
Number of seconds to generate the page: 0.499
(c) ScegliAuto 2026 - info@scegliauto.com - Privacy policy VAT number: IT01247470535 |
