
|
Do it yourself
| |||
| ||||


How to change the PCV valve of the Kia Rio
Model: Kia Rio
UB, MK 3
- Years 2011-2017
Let's see how to clean or replace the PCV (Positive Crankcase Ventilation) valve, which is responsible for recycling blow-by gases (that is, those combustion gases that seep from the combustion chamber) from the crankcase to the intake manifold: to prevent the buildup of moisture in the engine oil. A malfunction can cause abnormal oil consumption, loss of power, and increased emissions. Let's start by removing the engine cover; near the fuel pump, we find the PCV valve, which is a cylindrical metal/plastic nut of 14 mm, with a connected rubber tube. Let's remove the spring clamp to which it is attached and use adjustable pliers to compress the two ends of the clamp. Unscrew it counterclockwise with a 14 mm wrench. We can find the new valve on Amazon with the code B0C7X9GXQT at a price of 10.69 euros, free one-day delivery for Prime customers. Let's replace it by screwing it by hand and then tightening it with the 14 mm wrench. Push it all the way onto the valve, reposition the clamp, align the 4 clips, and put the engine cover back on.
Posted on 16 October 2025 by ScegliAuto
Video tutorial
Related tutorials
Kia Rio
(2017-2023 /
)
Are the bulbs in the headlamp of your Kia Rio blown and need changing? Here's how to do it. Open the front bonnet by pulling the lever located at the…

Kia Rio
(2011-2017 /
UB, MK 3)
If you intend to replace the cabin air filter on your Kia Rio third generation yourself, follow the steps described below. First, ensure you have a n…
Kia Rio
(2016-2023 /
YB, MK 4, SC)
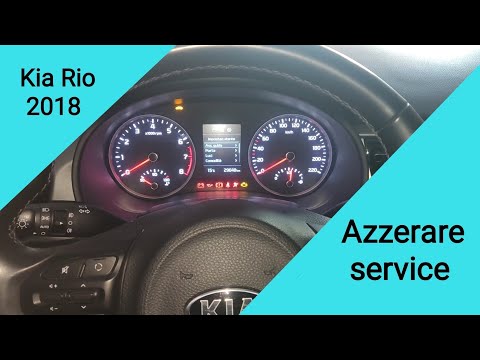
In this guide, you will learn how to correctly manually reset the service light on your Kia Rio 2018. First, turn on the ignition and enter the vehic…
Other guides you may be interested in
|
How to Open a Stuck Boot on the Peugeot 407?
On the Peugeot 407, the boot may become stuck, possibly due to a problem with the control button or the lock actuator. In such cases, you can perform an emergency opening by following the simple procedure shown in this tutorial. First, open the rear doors, then lower the seat back by operating the release lever. Next, go inside the boot, locate the lock, and manually operate it using a flathead screwdriver. The boot will then be free to open. by ScegliAuto More videos
|

|
For advertising on this site Write to info@scegliauto.com
ScegliAuto is not responsible for any inaccuracy of the data in the lists. To report any inaccuracy or your business (if you own the business in question), please write to info@scegliauto.com
Number of seconds to generate the page: 0.751
(c) ScegliAuto 2026 - info@scegliauto.com - Privacy policy VAT number: IT01247470535 |
