
|
Do it yourself
| |||
| ||||


Video tutorial
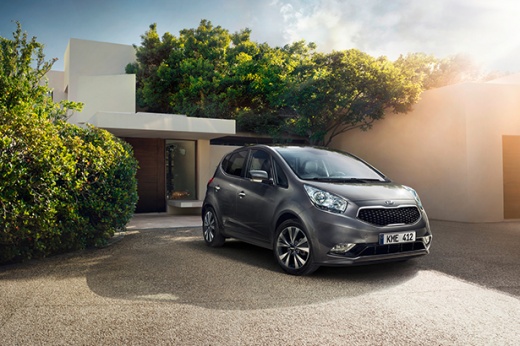
Learn how to set the clock on a Kia Venga: insert the key and turn it to the "ON" position without starting the engine. On the central dashboard, find the "SET" button and hold it for a couple of seconds. By briefly and repeatedly pressing the "set" button, look for the letter "H" on the display for hours, so you can adjust them. Use the "up" and "down" buttons to set the hours (these are usually the arrow buttons next to the display, but may also be marked with +/-). Use the same method to adjust the minutes. Wait a moment, or turn off the ignition by removing the key. This way, the time should be saved. On newer models with a touchscreen, go to menu/settings/date-time and adjust hours and minutes via the touchscreen, confirming with OK.
Posted on 3 May 2026 by ScegliAuto
Related tutorials
Kia Venga
(2010-2019 /
MK 1)
Before you can begin, sit in the driver's seat of your Kia Venga. Start by unfastening and removing the handbrake surround by pulling it upwards. Nex…

Kia Venga
(2010-2019 /
MK 1)
In this tutorial we can see how to adjust the time in the KIA Venga, an extremely simple and quick operation, to be carried out for example after the…

Kia Venga
(2010-2019 /
MK 1)
The Kia Venga has two fuse boxes. The first fuse box is located inside the cabin, specifically behind the left dashboard side panel. The second fuse …
Other guides you may be interested in
|
How to Remove the Rear Seat of a Hyundai Tucson?
To remove the rear seat of a Hyundai Tucson, follow these steps. Start by moving the front seats to their most forward position to gain space. Next, locate the release lever on the underside of the rear seat, near the floor. Press this lever down while pulling the seat upwards to unlock it from the anchor pins. Once unlocked, tilt the seat upwards and forwards to remove it from its position. Repeat this process for both sides of the rear seat. Be careful of any electrical cables or components that may be connected to the seat during removal. Once the rear seat is removed, the disassembly is complete. by ScegliAuto More videos
|
|
For advertising on this site Write to info@scegliauto.com
ScegliAuto is not responsible for any inaccuracy of the data in the lists. To report any inaccuracy or your business (if you own the business in question), please write to info@scegliauto.com
Number of seconds to generate the page: 0.130
(c) ScegliAuto 2026 - info@scegliauto.com - Privacy policy VAT number: IT01247470535 |
