
|
Do it yourself
| |||
| ||||


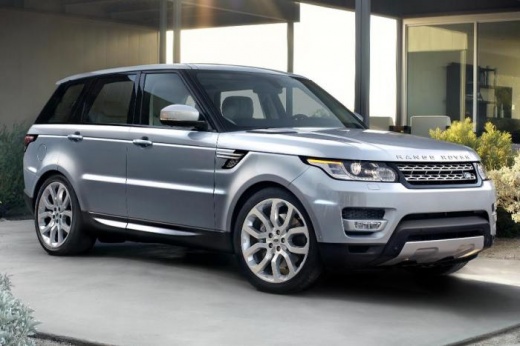
How to Change the Letters on the Front Hood of a Range Rover
Model: Land Rover Range Rover
MK 2
- Years:
2012, 2013, 2014, 2015, 2016, 2017, 2018, 2019, 2020, 2021
Video tutorial
The front lettering on the Range Rover is prone to damage and losing its chrome finish. This is due to temperature extremes (whether too high or too low, extreme conditions damage the front lettering) and weather conditions. On a vehicle like this, a damaged and peeling lettering is unappealing, but it can be replaced with a small expense and a job that requires just a bit of attention. The "range rover" lettering can be found on all e-commerce platforms; for example, on Amazon, it costs $22.00 with shipping included (chrome) and $25.00 if you prefer it in black (same conditions). The only caution is needed when removing the old lettering (this can also be done with dental floss); then clean the area thoroughly with a suitable product and apply some polish. The difficulty lies in repositioning the lettering. As shown in the video, you should take measurements before removing the old lettering to ensure you place it back exactly as it was. But it only requires a bit of attention.
Updated on 2 July 2026 by ScegliAuto
Related tutorials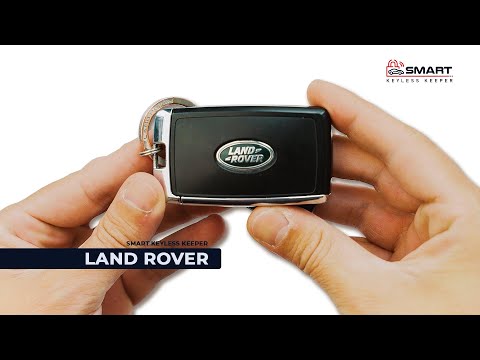
Land Rover Range Rover
(2022-2026 /
L460)
In this tutorial, you can see how to replace the key fob battery for a Land Rover Range Rover, a very simple and quick operation. For this, you will …

Land Rover Range Rover
(2022-2026 /
L460)
The tire pressure warning light that appears on the instrument panel of the Land Rover Range Rover can be reset by inflating the tires to the recomme…

Land Rover Range Rover
(2012-2021 /
MK 2)
To replace the battery in the key fob of a Land Rover Range Rover, press the button on the side of the device to extract the key from the bottom. Onc…
Other guides you may be interested in
|
Where to Find and How to Remove the Spare Wheel of a Peugeot 5008?
The spare wheel of a Peugeot 5008 is located under the rear of the vehicle. To remove it, you need to lift the third row of seats to access the fixing bolt that holds the spare wheel in position. Using the correct spanner, proceed to unscrew the fixing bolt until the wheel is no longer secured. At this point, you can extract the spare wheel from underneath the vehicle. Once you have completed this step, you are free to fit the spare wheel. Ensure you correctly remount the spare wheel and securely tighten the fixing bolt when you are finished. by ScegliAuto More videos
|
|
For advertising on this site Write to info@scegliauto.com
ScegliAuto is not responsible for any inaccuracy of the data in the lists. To report any inaccuracy or your business (if you own the business in question), please write to info@scegliauto.com
Number of seconds to generate the page: 0.022
(c) ScegliAuto 2026 - info@scegliauto.com - Privacy policy VAT number: IT01247470535 |
