
|
Do it yourself
| |||
| ||||


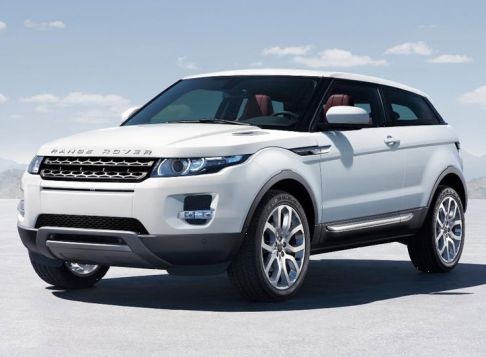
How to Remove the Front Headlight on a Range Rover Evoque?
Model: Land Rover Evoque
L538, MK 1
- Years:
2011, 2012, 2013, 2014, 2015, 2016, 2017, 2018
Video tutorial
To remove the front headlight on a Range Rover Evoque, start by opening the hood and removing the protective panel located above the headlight. This panel may be secured with clips or screws, so use a screwdriver or a prying tool to gently lift it. Next, locate and unscrew the screws or bolts that secure the headlight to the vehicle structure. There are usually screws both at the top and side of the headlight. Once all screws are removed, carefully pull the headlight out of its housing. Disconnect the electrical connectors that power the headlight, being careful not to damage the wires. Once disconnected, you can completely remove the headlight. If necessary, install the new headlight by following the reverse process: connect the electrical wires, position the headlight in its place, secure it with screws, and reinstall the protective panel. Ensure all connections are secure and that the headlight is properly aligned before closing the hood.
Updated on 18 October 2026 by ScegliAuto
Related tutorials
Land Rover Evoque
(2011-2018 /
L538, MK 1)
Today, let's go through the steps to remove and replace the rear headlight bulbs on the Land Rover Range Rover Evoque. First, open the trunk and star…

Land Rover Evoque
(2011-2018 /
L538, MK 1)
In this new mini guide, we will help you complete the procedure that allows you to manually reset the service light on the instrument panel of your f…
Land Rover Evoque
(2011-2018 /
L538, MK 1)
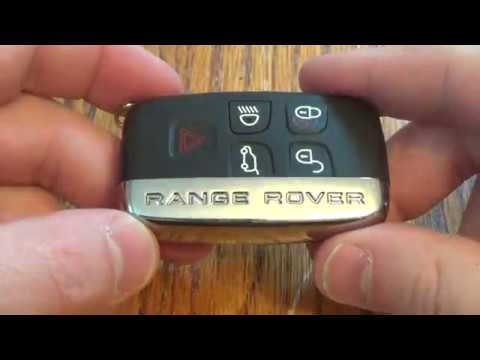
In this video, you will see how to disassemble and replace the battery of the key fob for a Land Rover Range Rover Sport, as well as the standard Ran…
Other guides you may be interested in
|
Where to Find and How to Remove the Spare Wheel of a Peugeot 5008?
The spare wheel of a Peugeot 5008 is located under the rear of the vehicle. To remove it, you need to lift the third row of seats to access the fixing bolt that holds the spare wheel in position. Using the correct spanner, proceed to unscrew the fixing bolt until the wheel is no longer secured. At this point, you can extract the spare wheel from underneath the vehicle. Once you have completed this step, you are free to fit the spare wheel. Ensure you correctly remount the spare wheel and securely tighten the fixing bolt when you are finished. by ScegliAuto More videos
|
|
For advertising on this site Write to info@scegliauto.com
ScegliAuto is not responsible for any inaccuracy of the data in the lists. To report any inaccuracy or your business (if you own the business in question), please write to info@scegliauto.com
Number of seconds to generate the page: 0.033
(c) ScegliAuto 2026 - info@scegliauto.com - Privacy policy VAT number: IT01247470535 |
