
|
Do it yourself
| |||
| ||||


|
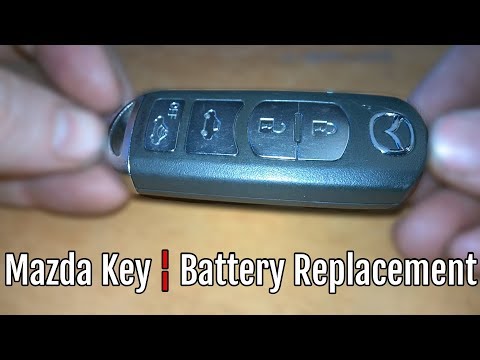
The video shows the simple steps to replace the battery in the remote for a Mazda 6. Extract the key by pressing the chrome button. This will expose a small slot. Insert a small flat screwdriver into it and press towards the key. This will allow you to remove the front part of the key. Locate the slot at the top (see video), insert a screwdriver, and turn it to separate the two halves. You will have access to the electronic part. Use the flat screwdriver to extract the old battery (model CR1620). Reposition the new battery exactly as the previous one and reassemble the two halves. Reinsert the front part of the key, which will click shut.
Updated on 21 March 2026 by ScegliAuto
Video tutorial
Related tutorials
Mazda 6
(2008-2012 /
GH, MK 2)
To replace the battery in the remote for the Mazda 6, slide the key out from the top of the remote and use a flathead screwdriver to open the device.…
Mazda 6
(2012-2024 /
GJ, MK 3)
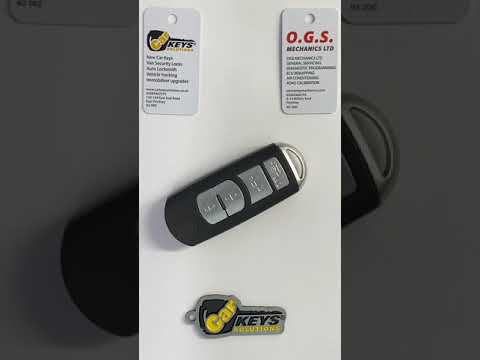
In this tutorial, you will see how to replace the remote battery on a Mazda 6, a very simple and quick operation. To do this, you will need a small f…
Mazda 6
(2012-2024 /
GJ, MK 3)
In this brief guide, discover how to disassemble and replace the battery in the electronic key fob for the Mazda 6 third generation by following thes…
Other guides you may be interested in
|
How to reset the tyre pressure warning light on the Suzuki Jimny?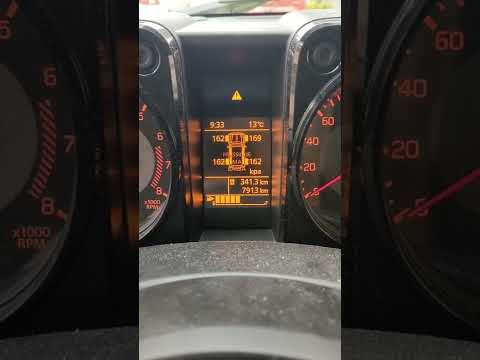
To reset the tyre pressure warning light on the Suzuki Jimny, first inflate the tyres to the pressure value indicated on the corresponding sticker: this is located at the bottom of the driver's door pillar. Once the tyres are inflated, insert the ignition key and turn on the instrument panel: select the screen that indicates the tyre pressures, checking that the values change. After a few seconds, the tyre pressure warning light will automatically turn off. by ScegliAuto More videos
|
|
For advertising on this site Write to info@scegliauto.com
ScegliAuto is not responsible for any inaccuracy of the data in the lists. To report any inaccuracy or your business (if you own the business in question), please write to info@scegliauto.com
Number of seconds to generate the page: 0.146
(c) ScegliAuto 2026 - info@scegliauto.com - Privacy policy VAT number: IT01247470535 |
