
|
Do it yourself
| |||
| ||||


Replacing the Engine Spark Plugs
Model: Mazda 6
GG, MK 1
- Years 2002-2008
For safety, disconnect the negative terminal of the battery. Carefully remove the plastic cover protecting the engine by simply lifting it upwards. To avoid confusing the cables, disconnect only the first spark plug. Using a 10mm socket wrench, unscrew the sealing nut of the first spark plug and pull the connector upwards. At the bottom of the well is the first spark plug. Before proceeding with the disassembly, carefully clean the wells with compressed air to remove any dirt that could fall into the combustion chamber. Using the appropriate spark plug tool, which has a rubber gripping device, gently insert it onto the spark plug head and unscrew it. Proceed carefully to avoid dropping foreign objects into the well. Replace the spark plug with one of the same model, carefully inserting it into the well, always using the appropriate tool, and turn it gently, ensuring it screws in well without forcing.
Updated on 6 February 2026 by ScegliAuto
Video tutorial
Related tutorials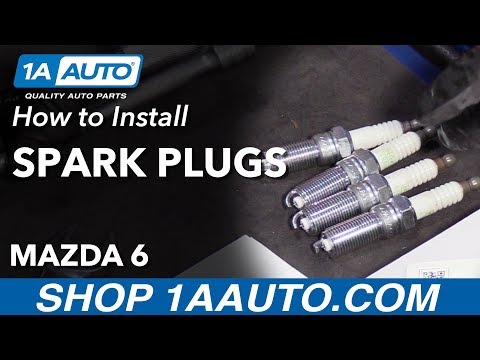
Mazda 6
(2002-2008 /
GG, MK 1)
To change the spark plugs on your Mazda 6, disconnect the coil connectors as shown in the video. Twist to remove all coils from the car. Once extract…
Mazda 6
(2002-2008 /
GG, MK 1)
Before starting, open the bonnet of your Mazda 6. Begin by removing the air filter housing, unscrewing the fixing screws, and disconnecting the vario…
Mazda 6
(2002-2008 /
GG, MK 1)
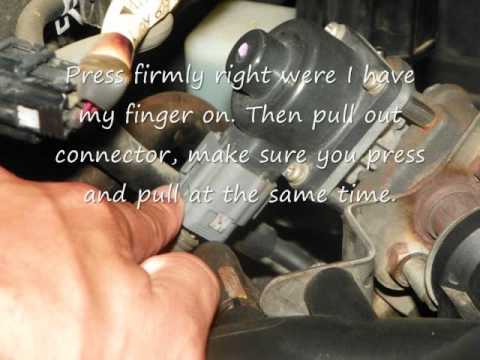
Replacing the spark plugs is something you can do yourself if you have good manual skills. Worn spark plugs can lead to problems such as exhaust smok…
Other guides you may be interested in
|
How to Check the Oil Level on a Jeep Renegade?
To check the oil level on a Jeep Renegade, you need to open the bonnet to access the components inside the engine bay: on the lower left side of the engine block, you will find the dipstick for checking the level. This should be pulled out and thoroughly cleaned with a cloth: once cleaned, reinsert it back into its tube and pull it out immediately after. This way, you can check that the oil mark is between the minimum and maximum levels; finally, you can place the dipstick back in its tube. by ScegliAuto More videos
|
|
For advertising on this site Write to info@scegliauto.com
ScegliAuto is not responsible for any inaccuracy of the data in the lists. To report any inaccuracy or your business (if you own the business in question), please write to info@scegliauto.com
Number of seconds to generate the page: 0.681
(c) ScegliAuto 2026 - info@scegliauto.com - Privacy policy VAT number: IT01247470535 |
