
|
Do it yourself
| |||
| ||||


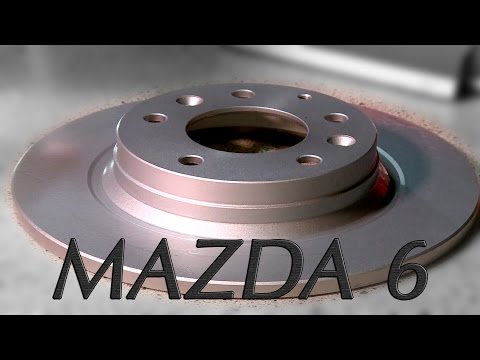
Replacing Rear Brake Pads
Model: Mazda 6
MK 1, GG
- Years 2002-2008
Obtain the original replacement discs, then lift the vehicle and secure it before removing the wheel. Open the cap of the brake fluid reservoir. Next, remove the caliper by moving it away. Remove the caliper support bracket using a spanner by unscrewing the two rear screws. Using a plastic tool, remove the brake pads by pulling them from their seat. Install the new pads, paying attention to the direction of rotation stamped on the body. If available, before removing the inner pad, it is necessary to disconnect the electrical contact via its connector. Remove the second pad and install the new one, reconnecting the wires. Refit the spring and the two clips. Refit the wheel. Check the brake fluid level is correct. Reset the position of the pistons by pressing the brake pedal.
Updated on 8 February 2026 by ScegliAuto
Video tutorial
Related tutorials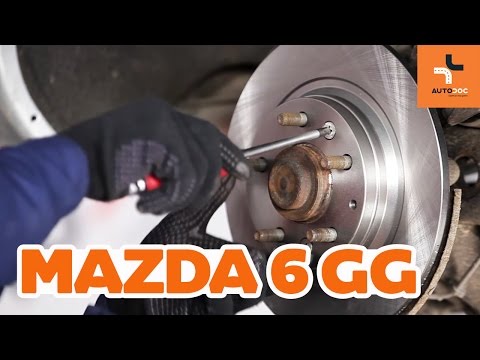
Mazda 6
(2002-2008 /
MK 1, GG)
Lift the vehicle on a ramp and remove the rear wheel. Proceed to remove the fixing pins of the brake caliper to detach it from its seat, remove the o…
Mazda 6
(2008-2012 /
GH, MK 2)
Once you have lifted the vehicle and removed the rear wheels, disconnect the brake caliper from its bracket, remove the old pads, and detach the brac…

Mazda 6
(2002-2008 /
MK 1, GG)
Replace the brake caliper when you notice oil leaks or seized pistons. Consider having it serviced. Lift the vehicle on suitable car stands and remov…
Other guides you may be interested in
|
How to Change the Glow Plugs on a Hyundai Santa Fe
In this video, see how to remove and replace the glow plugs on your Hyundai Santa Fe. Pull the lever to open the engine compartment located at the bottom left of the dashboard, lift the bonnet, and secure it. Follow the video for the tools to use for disassembly. Remove the plastic engine cover and the air filter kit; you will see the engine head bare without plastics. Unscrew the coils using a socket wrench and disconnect the power cables. Once all the coils are removed, unscrew the glow plugs from the head and take them out. To remove the other coils and glow plugs, you need to uncover the metal protection from the head; unscrew these as well and prepare to install the new glow plugs. Be careful not to let any debris fall into the engine head while unscrewing the glow plugs. It is advisable to vacuum the glow plug wells before disassembly. by ScegliAuto More videos
|
|
For advertising on this site Write to info@scegliauto.com
ScegliAuto is not responsible for any inaccuracy of the data in the lists. To report any inaccuracy or your business (if you own the business in question), please write to info@scegliauto.com
Number of seconds to generate the page: 0.106
(c) ScegliAuto 2026 - info@scegliauto.com - Privacy policy VAT number: IT01247470535 |