
|
Do it yourself
| |||
| ||||


Replacement of Rear Brake Pads
Model: Mazda 3
BK, MK 1
- Years:
2003, 2004, 2005, 2006, 2007, 2008, 2009
Video tutorial
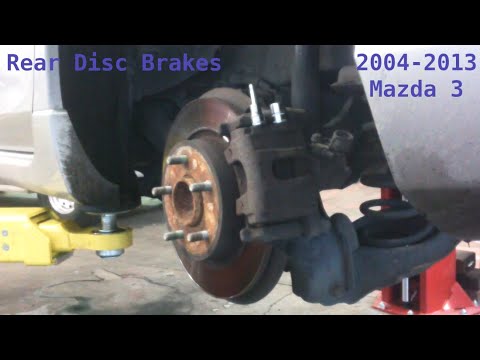
Lift the vehicle, remove the wheels, and secure it. Carefully detach the caliper by removing the two clips and unscrewing the rear bolts. Remove the caliper support bracket using a ratchet spanner by taking out the two screws and set it aside. Take out the old pads and realign the piston to retract it. Clean the support thoroughly with a deoxidising spray. Refit the bracket, cleaning and lubricating the fixing screws, then tighten them with a torque wrench. Refit the caliper and pads, ensuring the correct orientation. Check the pads' adherence to the disc and refit the wheel.
Updated on 8 February 2026 by ScegliAuto
Related tutorials
Mazda 3
(2003-2009 /
BK, MK 1)
Before proceeding with the removal of the brake shoes, obtain the specific tool to retract the caliper piston: this is a socket with two pins to inse…
Mazda 3
(2009-2013 /
BL, MK 2)
This guide explains step by step and simply how to replace the brake pads of your car, with a bit of patience, passion, and goodwill, without needing…
Mazda 3
(2003-2009 /
BK, MK 1)
Obtain original replacement brake pads, then lift the vehicle and secure it before removing the wheel. Unscrew the two retaining screws of the calipe…
Other guides you may be interested in
|
How to Reset the Tyre Pressure Warning Light on a Kia Rio?
The tyre pressure warning light displayed on the instrument cluster of the Kia Rio can be reset by inflating the tyres until they reach the recommended pressure value: this value is indicated on the sticker affixed to the driver's door pillar. Once all tyres have been inflated to the recommended pressure, turn on the ignition to check that the light has disappeared: if it is still present, it may be necessary to drive for a few miles, allowing the sensors to work and thus turning off the light. by ScegliAuto More videos
|
|
For advertising on this site Write to info@scegliauto.com
ScegliAuto is not responsible for any inaccuracy of the data in the lists. To report any inaccuracy or your business (if you own the business in question), please write to info@scegliauto.com
Number of seconds to generate the page: 0.036
(c) ScegliAuto 2026 - info@scegliauto.com - Privacy policy VAT number: IT01247470535 |
