
|
Do it yourself
| |||
| ||||


Front Brake Disc and Pad Replacement
Model: Mazda 3
BK, MK 1
- Years 2003-2009
It is recommended to perform this maintenance after the vehicle has been stationary for a while to avoid handling overly hot parts; position the car on suitable axle stands and remove the front wheel. Then unscrew the caliper mounting bolts after removing the protective caps; before removing the caliper, lever between the disc and the piston to retract it, detach the outer spring, remove the caliper, and take out the old pads; disassemble the caliper bracket, remove the old disc, clean the hub seat with a wire brush, and apply grease before installing the new disc; then reassemble the caliper bracket, insert the new pads, fully retract the caliper piston, and secure it with the respective bolts, finally applying the outer spring.
Updated on 14 February 2026 by ScegliAuto
Video tutorial
Related tutorials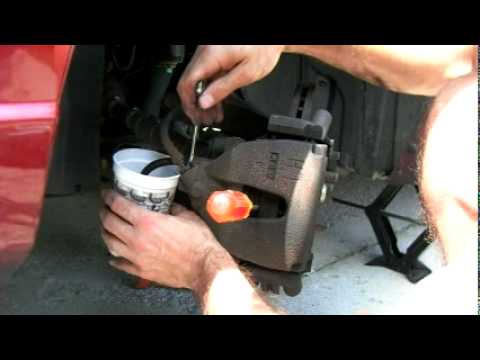
Mazda 3
(2003-2009 /
BK, MK 1)
Lift the vehicle with a jack but secure it using an axle stand, remove the wheel and retract the brake caliper piston by prying between the disc and …

Mazda 3
(2003-2009 /
BK, MK 1)
Before proceeding with the removal of the brake shoes, obtain the specific tool to retract the caliper piston: this is a socket with two pins to inse…

Mazda 3
(2009-2013 /
MK 2, BL)
Obtain original replacement discs, then lift the vehicle and secure it. Remove the wheel. Next, detach the caliper. Remove the caliper support bracke…
Other guides you may be interested in
|
How to Replace the Diesel Filter of the Peugeot 3008 1.5 BlueHDI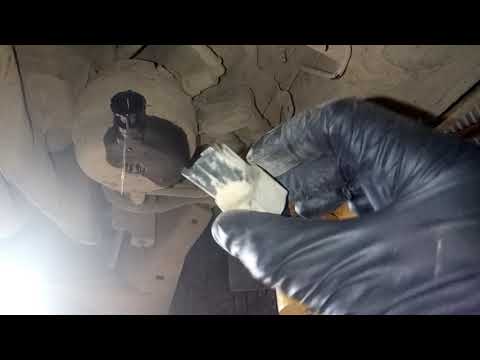
Briefly, we will see the main instructions for dismantling and replacing the diesel filter of the Peugeot 3008 1.5 BlueHDI. First, locate the diesel filter under the vehicle, so it will be necessary to lift it; then disconnect the electrical connector and the fuel lines from the filter, unscrewing the side screws to remove the cartridge, as shown in the video. At this point, replace the diesel filter with the new one, as well as with the original one; then reconnect the pipes and the electrical connector, following the video tutorial to the end! by ScegliAuto More videos
|
|
For advertising on this site Write to info@scegliauto.com
ScegliAuto is not responsible for any inaccuracy of the data in the lists. To report any inaccuracy or your business (if you own the business in question), please write to info@scegliauto.com
Number of seconds to generate the page: 0.065
(c) ScegliAuto 2026 - info@scegliauto.com - Privacy policy VAT number: IT01247470535 |
