
|
Do it yourself
| |||
| ||||


Replacement of the Cabin Heater Fan Motor
Model: Mazda 3
BK, MK 1
- Years 2003-2009
To carry out this not-so-simple operation, you will need a few tools, including two cross-head screwdrivers, one of which should have a very short shaft. Remove the motor and fan from the right side of the car, as disassembly from the left side of the tunnel is obstructed by the presence of the pedals and the steering column. To perform this replacement, you must completely dismantle the glove compartment and the plastics on the right side of the dashboard, adjacent to the tunnel. You will also need to remove the housing of one of the fuse panels. The ventilation motor should be reinserted into the space behind the dashboard, paying particular attention to the electrical connections and ensuring proper wiring for the correct functioning of the system.
Updated on 10 February 2026 by ScegliAuto
Video tutorial
Related tutorials
Mazda 3
(2009-2013 /
MK 2, BL)
Today we will see the instructions that will allow us to disassemble and replace the cabin fan of the Mazda 3. First, we get on board the car and sta…
Mazda 3
(2003-2009 /
BK, MK 1)
If you have issues with the air conditioning system turning on and off by itself, first check the fuses both inside the cabin and in the engine compa…
Mazda 3
(2009-2013 /
MK 2, BL)
The cabin air filter ensures good air quality inside the cabin, protecting against pollen and particles, and is effective against unpleasant odours. …
Other guides you may be interested in
|
Where is the Fuel Filter Located in a Volvo XC60?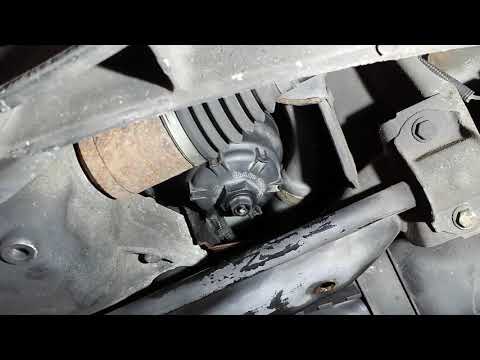
In this video, you will see where the fuel filter is located in a Volvo XC60 and how to proceed if you need to replace it. As shown, the filter is positioned at the lower part of the engine, right between the left half-shaft and the sway bar attachment. To replace the filter, first, go underneath the vehicle, taking all necessary safety precautions. Then, using an 18mm wrench, open the drain valve and allow any water present to escape. Next, unscrew the housing, remove the old filter, insert the replacement along with a new gasket, and reassemble everything. by ScegliAuto More videos
|
|
For advertising on this site Write to info@scegliauto.com
ScegliAuto is not responsible for any inaccuracy of the data in the lists. To report any inaccuracy or your business (if you own the business in question), please write to info@scegliauto.com
Number of seconds to generate the page: 0.110
(c) ScegliAuto 2026 - info@scegliauto.com - Privacy policy VAT number: IT01247470535 |
