
|
Do it yourself
| |||
| ||||


How to Dismantle the Rear Bumper of the Mazda MX5 NB?
Model: Mazda Mx 5
MK 1
- Years:
1989, 1990, 1991, 1992, 1993, 1994, 1995, 1996, 1997
Video tutorial
Dismantling the rear bumper of the Mazda MX5 NB is a straightforward operation, but you must first remove a considerable number of screws; the attached video guide will assist you. Start by opening the boot and using a flathead screwdriver to remove the plastic rivets that secure the inner walls. Using a 10mm spanner, unscrew the nuts of the lights, disconnect the connectors, and remove the last two screws located at the top of the light units. Move to the outside, then remove the screws located in the wheel arches and the number plate to access the two hidden Torx screws. The last screws to remove are those located at the lower central side of the bumper and the two at the ends in the wheel arches. As the final step, pull the bumper outwards, one side at a time, to disengage it from the plastic clips.
Updated on 15 May 2026 by ScegliAuto
Related tutorials
Mazda Mx 5
(2015-2024 /
ND, MK 4)
To complete the manual reset of the service light on your latest model Mazda MX5, you must follow all the steps described in the following guide addr…
Mazda Mx 5
(1998-2005 /
NB, MK 2)
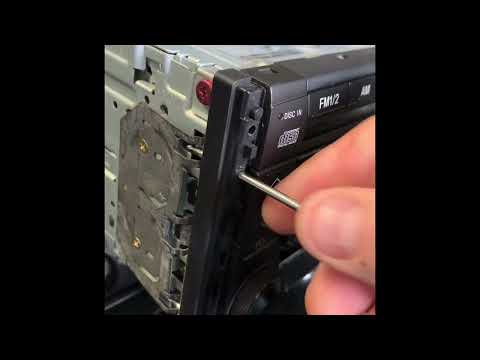
In this mini guide dedicated to your 2002 Mazda MX5 Miata, you will discover how to quickly and correctly remove the standard radio. First, obtain me…

Mazda Mx 5
(2015-2024 /
ND, MK 4)
Manually resetting the service light of your 2017 Mazda MX5 is really easy. In this new mini guide of ours, you will find all the steps you need to f…
Other guides you may be interested in
|
How to Remove the Toll Tag Holder from the Car Windscreen
The toll tag holder is usually attached to the car windscreen to ensure that the toll tag functions immediately when passing through barriers. However, if you decide to remove the holder, you should follow this procedure: - Insert the toll tag into the holder; - Pull the holder inwards to detach it from the windscreen; you can use a glass scraper or a stiff plastic card to assist you; After removing the holder, it is essential to remove the adhesive from the windscreen. To remove the adhesive, we recommend using a solvent-based spray that will remove the glue without clouding the area. by ScegliAuto More videos
|
|
For advertising on this site Write to info@scegliauto.com
ScegliAuto is not responsible for any inaccuracy of the data in the lists. To report any inaccuracy or your business (if you own the business in question), please write to info@scegliauto.com
Number of seconds to generate the page: 0.021
(c) ScegliAuto 2026 - info@scegliauto.com - Privacy policy VAT number: IT01247470535 |
