
|
Do it yourself
| |||
| ||||


Oil Filter Heat Exchanger Gasket Replacement
Model: Mazda Cx7
MK 1
- Years 2006-2012
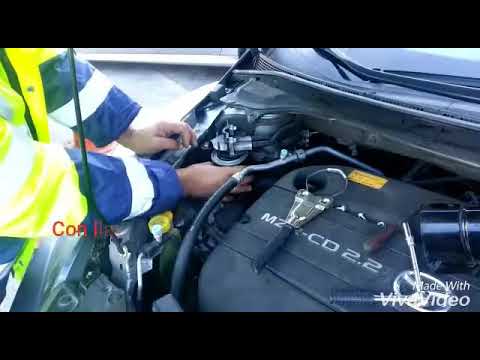
To replace the gasket of the oil filter heat exchanger, proceed as follows: drain the engine oil through the designated drain plug located under the oil sump, extract the oil filter cartridge, which is located right in front of the sump, by unscrewing the plug underneath. Disconnect the engine oil pressure bulb and unscrew the fastening bolts of the oil filter support, paying attention to the gasket between the support and the engine block. At this point, it is possible to separate the heat exchanger from the oil filter support and replace the internal gasket, aligning it with the respective centring tabs.
Updated on 15 February 2026 by ScegliAuto
Video tutorial
Related tutorials
Mazda Cx7
(2006-2012 /
MK 1)
To replace the engine oil and its filter, access the oil sump to drain the used oil: position the vehicle on suitable car ramps or over a workshop pi…
Mazda Cx7
(2006-2012 /
MK 1)
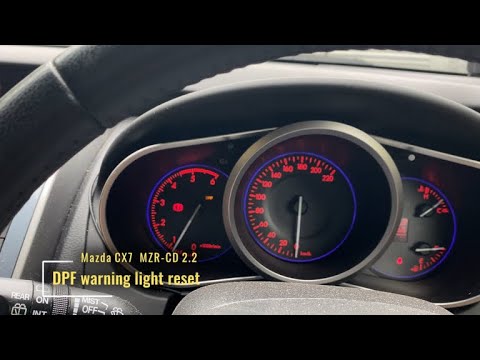
In order to reset the Mazda CX7 particulate filter warning light, you must turn off the instrument cluster and connect a wire from the top terminal o…
Mazda Cx7
(2006-2012 /
MK 1)
Before we can begin, we will have to go and open the front hood of our Mazda CX7. So let's start by unscrewing the screws that secure the fuel filter…
Other guides you may be interested in
|
How to Replace the Rear Light and Bulbs on a Ford Focus Year 2000
To replace the rear light and bulbs on a Ford Focus 2000/2004, first, open the tailgate of the boot. This gives access to the screw that holds the rear light in place. The screw to undo (using an appropriate screwdriver) is located inside the light and corresponds to the fold that accommodates the tailgate (as shown in the images). Once you start to undo it, continue with the operation and then remove the nut from the inside of the bodywork. At this point, you can remove the light, being careful to disconnect the electrical supply by unplugging the connectors or removing the entire bulb holder from its housing. This way, you can replace the bulbs. To reassemble everything, simply follow the described operations in reverse order. by ScegliAuto More videos
|
|
For advertising on this site Write to info@scegliauto.com
ScegliAuto is not responsible for any inaccuracy of the data in the lists. To report any inaccuracy or your business (if you own the business in question), please write to info@scegliauto.com
Number of seconds to generate the page: 0.086
(c) ScegliAuto 2026 - info@scegliauto.com - Privacy policy VAT number: IT01247470535 |