
|
Do it yourself
| |||
| ||||


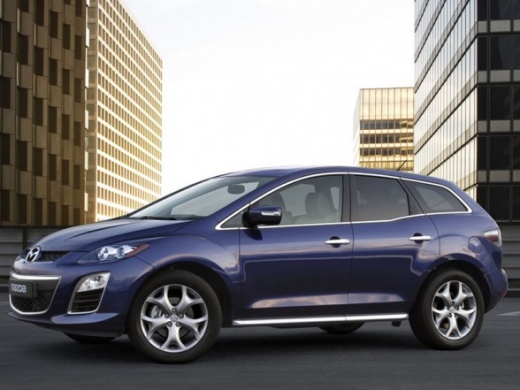
Removal and Reinstallation of Brake Discs
Model: Mazda Cx 7
MK 1
- Years:
2006, 2007, 2008, 2009, 2010, 2011, 2012
Video tutorial
To remove the front brake discs, start by lifting the vehicle on appropriate car stands. Remove the wheel and use a lever between the disc and the caliper to slightly retract the caliper piston. Continue by removing the caliper mounting bolts, securing the caliper to the shock absorber spring with a tie wrap, then slide out the brake pads and remove the caliper bracket. At this point, unscrew the bolts securing the disc to the hub to remove it. Clean the disc seat on the hub with a metal brush, apply grease, and proceed in reverse for reinstallation.
Updated on 18 February 2026 by ScegliAuto
Related tutorials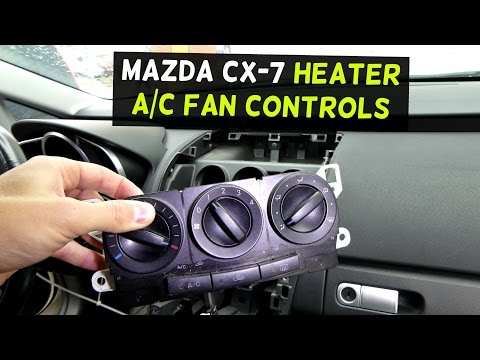
Mazda Cx 7
(2006-2012 /
MK 1)
If you need to dismantle the climate control controls, first unclip the trim that covers the centre console and houses the air vents; once the trim i…
Mazda Cx 7
(2006-2012 /
MK 1)
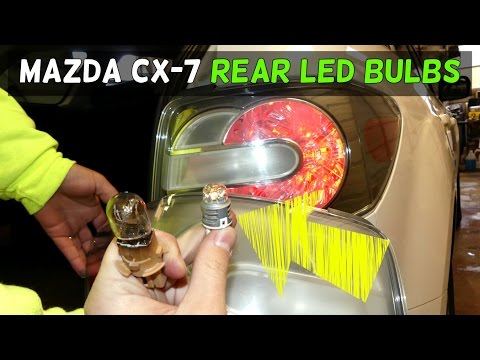
Replacing the rear light bulbs with LED types will give the vehicle a more modern and appealing look. To perform this operation, you do not need to d…

Mazda Cx 7
(2006-2012 /
MK 1)
Once inside the car, on the passenger side, open the glove compartment. On the right side, there is a clip that must be released from its locking pos…
Other guides you may be interested in
|
How to Reset the Tyre Pressure Warning Light on a Kia Rio?
The tyre pressure warning light displayed on the instrument cluster of the Kia Rio can be reset by inflating the tyres until they reach the recommended pressure value: this value is indicated on the sticker affixed to the driver's door pillar. Once all tyres have been inflated to the recommended pressure, turn on the ignition to check that the light has disappeared: if it is still present, it may be necessary to drive for a few miles, allowing the sensors to work and thus turning off the light. by ScegliAuto More videos
|
|
For advertising on this site Write to info@scegliauto.com
ScegliAuto is not responsible for any inaccuracy of the data in the lists. To report any inaccuracy or your business (if you own the business in question), please write to info@scegliauto.com
Number of seconds to generate the page: 0.049
(c) ScegliAuto 2026 - info@scegliauto.com - Privacy policy VAT number: IT01247470535 |
