
|
Do it yourself
| |||
| ||||


How to Remove and Reinstall the Airbox
Model: Mazda 6
GG, MK 1
- Years:
2002, 2003, 2004, 2005, 2006, 2007, 2008
Video tutorial
In the following video, you will see a skilled guide demonstrating the removal and reinstallation of an airbox from a car. This process allows you to carry it out independently at home without needing an expert. To remove it, disconnect the sensor plug and detach the intake hose. Next, remove the supporting screws using a 10 mm spanner or a cross-head screwdriver. Finally, lubricate the holes where the screws will be inserted. To reinstall the airbox, simply reverse all the steps just outlined.
Updated on 23 February 2026 by ScegliAuto
Related tutorials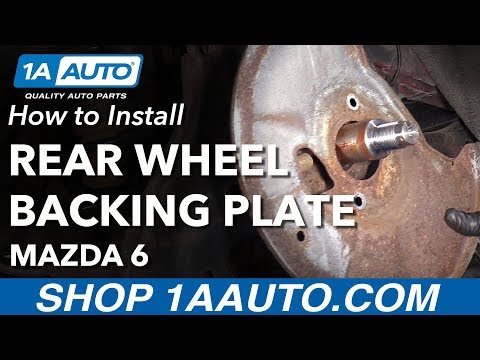
Mazda 6
(2002-2008 /
GG, MK 1)
To remove and reinstall the rear wheel support plates, first lift the car on a ramp. Then, using a 12 mm socket, unscrew the bolts securing the wheel…

Mazda 6
(2002-2008 /
GG, MK 1)
Removing and reinstalling the washer fluid reservoir is a complex operation that requires patience and commitment. First, before proceeding, it is ve…

Mazda 6
(2008-2012 /
MK 2, GH)
This guide provides step-by-step instructions on how to remove and replace the glove compartment in a Mazda 6. First, open the front passenger door a…
Other guides you may be interested in
|
How to Reset the Tyre Pressure Warning Light on the Jeep Renegade?
To reset the tyre pressure warning light on the Jeep Renegade, inflate the tyres until they reach the recommended pressure: this value is indicated on the sticker attached to the driver’s door pillar. Once the tyres are properly inflated, navigate through the menu that appears on the instrument cluster until you find the tyre pressure option. At this point, press and hold the OK button on the right side of the steering wheel to make the warning light disappear. by ScegliAuto More videos
|
|
For advertising on this site Write to info@scegliauto.com
ScegliAuto is not responsible for any inaccuracy of the data in the lists. To report any inaccuracy or your business (if you own the business in question), please write to info@scegliauto.com
Number of seconds to generate the page: 0.041
(c) ScegliAuto 2026 - info@scegliauto.com - Privacy policy VAT number: IT01247470535 |
