
|
Do it yourself
| |||
| ||||


How to Remove the Brake Disc on a Mazda 6
Model: Mazda 6
GG, MK 1
- Years 2002-2008
Do you want to remove a brake disc from your car? Let's see how to proceed. First, loosen all the wheel bolts, lift the car with a column lift to the right height for working. Start by unscrewing the bolts to remove the wheel, then unscrew the small bolt to let the brake fluid escape, relieving pressure from the caliper. Unscrew the caliper bolts from the support using a socket spanner. Before removing the caliper, let any remaining fluid out and hang it with a strap to avoid letting it dangle. Remove the brake pads and then the caliper support using a socket spanner. Unscrew the torx bolts at the front of the disc, lubricating with penetrating fluid, and use a hammer to aid in removal. Pull the brake disc out with your hands, drawing it towards you. Clean all dirt residues with brushes and lubricate all the caliper support bolts. Take the new brake disc, lubricate it as well, insert it onto the wheel hub bolts, then screw in all the torx bolts and continue by mounting the caliper support. We're almost done; insert the new brake pads into the support and mount the brake caliper. Top up the brake fluid in the reservoir at the top of the engine bay and bleed the brake until the correct pressure is achieved. Lastly, mount the wheel with the respective bolts. Always check the brake pedal pressure.
Updated on 24 February 2026 by ScegliAuto
Video tutorial
Related tutorials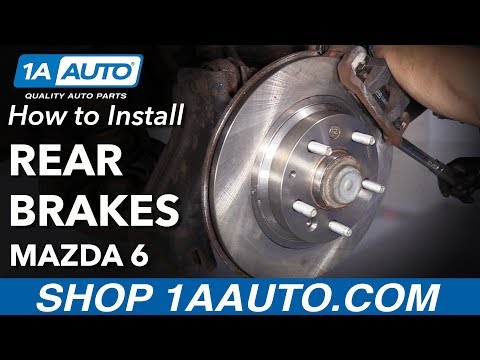
Mazda 6
(2002-2008 /
GG, MK 1)
In this guide, we will see how to remove a brake disc along with all associated parts. Position your car on a column lift, loosen the bolts with a te…
Mazda 6
(2002-2008 /
GG, MK 1)
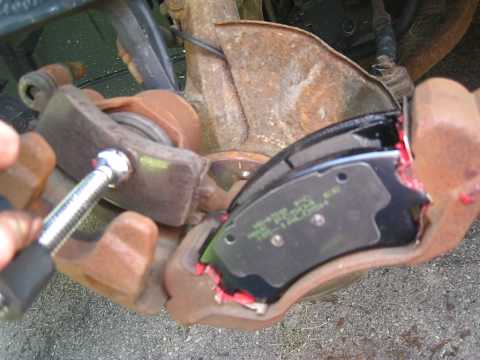
Lift the vehicle on suitable axle stands and remove the front wheel; then unscrew the mounting pins of the brake caliper bracket to allow the removal…
Mazda 6
(2008-2012 /
GH, MK 2)
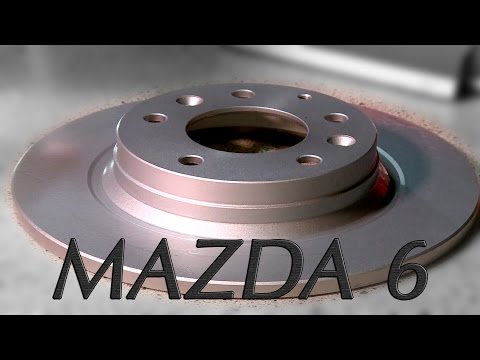
Once you have lifted the vehicle and removed the rear wheels, disconnect the brake caliper from its bracket, remove the old pads, and detach the brac…
Other guides you may be interested in
|
How to Bleed the Clutch on a Renault Clio?
To bleed the clutch on a Renault Clio, open the bonnet to access the components located in the engine bay: here, you will need to undo the screws that secure the battery in its housing, the intake manifold, and the coolant reservoir. This will allow you to locate the pipe through which the brake fluid flows: by inserting the other end of the pipe into a container, you can press the clutch pedal to expel all the fluid until it fills the container. by ScegliAuto More videos
|
|
For advertising on this site Write to info@scegliauto.com
ScegliAuto is not responsible for any inaccuracy of the data in the lists. To report any inaccuracy or your business (if you own the business in question), please write to info@scegliauto.com
Number of seconds to generate the page: 0.283
(c) ScegliAuto 2026 - info@scegliauto.com - Privacy policy VAT number: IT01247470535 |
