
|
Do it yourself
| |||
| ||||


|
In this guide, you will see how simple it is to remove the external handle on a Mazda 6 door. To start, take a plastic spatula and remove the switch panel from the door trim. Unscrew the screws on the trim panel with a screwdriver, then detach the internal opening handle. Unscrew the screws of the handle and all those around the perimeter of the trim. After that, remove the panel and disconnect the cables, along with the window motor and the trim beneath the door. Once you reach this point, remove the handle from the inside of the door while holding the external handle with your left hand. With the panel removed, all that remains is to take off the door opening handle and fit the new one. Reassemble the parts in reverse order to how they were disassembled.
Updated on 25 February 2026 by ScegliAuto
Video tutorial
Related tutorials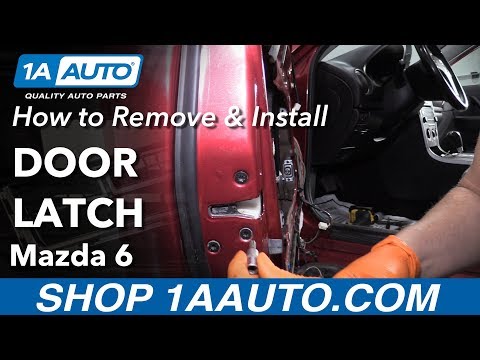
Mazda 6
(2002-2008 /
GG, MK 1)
To replace the door lock on the Mazda 6, proceed as follows: 1) Disconnect the battery. 2) Remove the entire door panel, taking care not to damage th…
Mazda 6
(2002-2008 /
GG, MK 1)
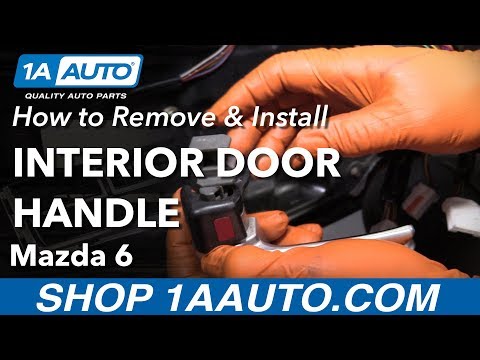
Removing a handle from your car may seem difficult, but it's quite simple. First, use a plastic spatula to remove the speaker cover located at the ri…
Mazda 6
(2008-2012 /
GH, MK 2)
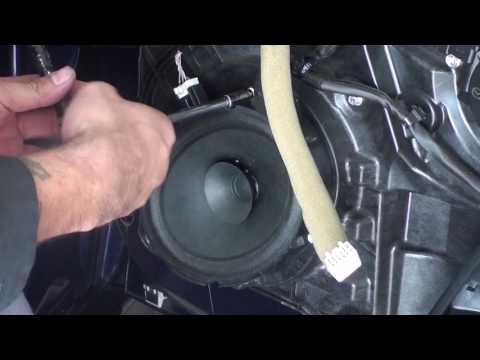
In this video, we will see how to remove the door panel and speaker from a Mazda 6: start by removing the panel corresponding to the external electri…
Other guides you may be interested in
|
How to Replace the Remote Battery for the Volvo XC40?
In this tutorial, you will see how to replace the battery in the remote for the Volvo XC40, a very simple and quick operation. For this, you will need a replacement battery of type CR2032 and possibly a small flathead screwdriver. First, remove the front cover by pressing the button on the metal ring, then locate the second button, press it as well, and remove the opposite cover. Next, open the circular cap, take out the old battery, and insert the new one in the opposite direction. Finally, reassemble everything. by ScegliAuto More videos
|
|
For advertising on this site Write to info@scegliauto.com
ScegliAuto is not responsible for any inaccuracy of the data in the lists. To report any inaccuracy or your business (if you own the business in question), please write to info@scegliauto.com
Number of seconds to generate the page: 0.075
(c) ScegliAuto 2026 - info@scegliauto.com - Privacy policy VAT number: IT01247470535 |
