Do it yourself
Frequently asked questions about cars and motorcycles
  1. Car
  2. :
  3. Mercedes
  4. :
  5. Classe E
  6. : Crankshaft position sensor

Mercedes Classe E - Crankshaft position sensor

Crankshaft Position Sensor Mercedes Classe E (2002-2009 / w 211)

Mercedes Classe E (2002-2009 / W211)
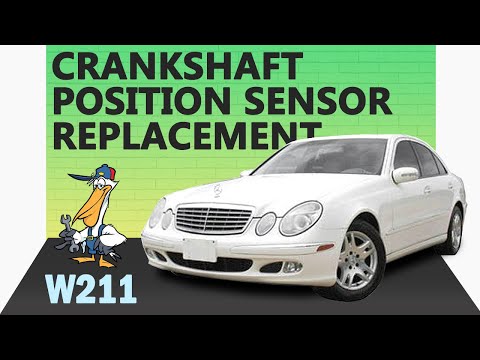
How to replace the crankshaft sensor in the Mercedes E-Class?

In this tutorial, you can see how to replace the crankshaft sensor in the Mercedes E-Class, a very simple and quick operation. Before proceeding, wait for the …Read all…
Posted on 14 July 2026 by ScegliAuto
Mercedes Classe E (2002-2009 / W211)
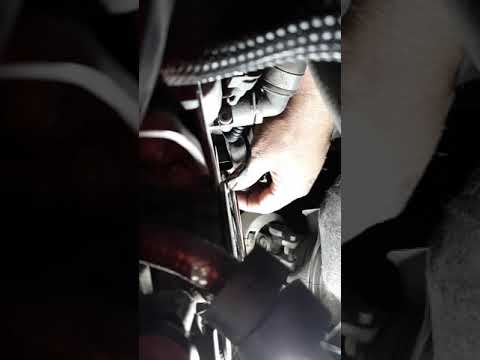
How to Replace the Crankshaft Position Sensor on a Mercedes E-Class?

To replace the crankshaft position sensor on a Mercedes E-Class, open the hood to access the engine compartment. The crankshaft position sensor is located on …Read all…
Posted on 22 August 2026 by ScegliAuto
Mercedes Classe E (2002-2009 / W211)
Diagnosing Issues and Replacing the Sensor

Does your car not start and you don't understand why? If you have a small diagnostic tool that allows you to diagnose both mechanical and electrical issues in …Read all…
Posted on 6 March 2026 by ScegliAuto
Mercedes Classe E (2002-2009 / W211)
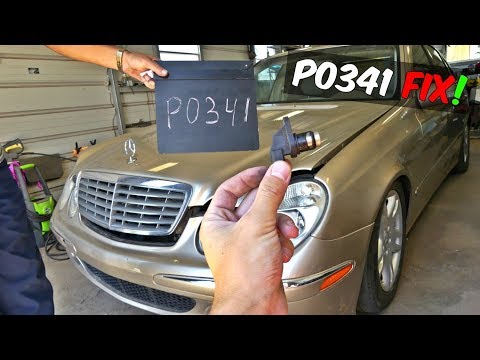
Camshaft Position Sensor Replacement

If the engine does not start and the check engine light illuminates on the dashboard, check the trouble codes in the engine control unit: the diagnosis …Read all…
Posted on 3 March 2026 by ScegliAuto
Mercedes Classe E (2002-2009 / W211)
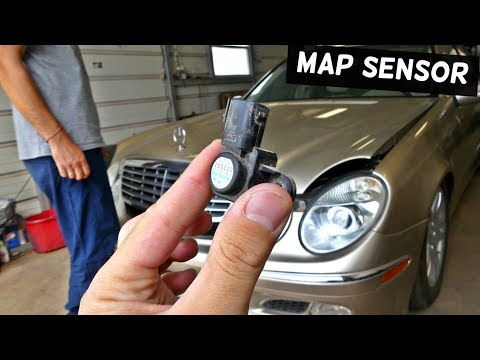
Replacing MAP Sensor P0106

Open the hood of the engine compartment and lift the cover corresponding to the position of the MAP sensor. Locate the sensor and disconnect the wires. Using …Read all…
Posted on 1 March 2026 by ScegliAuto

Cigarette lighter (1) Airbag (7) Alternator (4) Speaker (11) Shocks (7) Antenna (1) Air conditioning (2) Car stereo (18) Anti-roll bar (1) Battery (43) Air vents (4) Control arm (3) Transmission (15) Spark plugs (3) Glow plugs (7) Convertible top (1) Body (15) Glove compartment (2) Control unit (7) Key (42) Trunk lock (1) Timing belt (10) V-belt (2) Air conditioner (17) A/C controls (8) Onboard computer (18) Checks and maintenance (78) Dashboard (17) Bearing (1) Brake rotors (2) Rear bench seat (2) Electric cooling fan (1) Side marker light (2) Headlight (17) Tail light (8) Fog lights (1) Air filter (12) Cabin air filter (19) Fuel filter (2) Diesel fuel filter (4) Oil filter (4) Parking brake (4) Grille (2) Fuel injectors (2) Window switch (3) Accessory kit (3) Xenon headlight kit (1) Light bulb (2) Side marker bulb (4) Headlight bulb (25) Tail light bulb (3) Interior dome light bulb (9) Antifreeze coolant (2) Instrument panel light (4) License plate light (2) Rear window (1) Handle (6) Exhaust muffler (1) Engine (9) Power window motor (4) Starter motor (4) Transmission fluid (5) Brake fluid (1) Engine oil (8) Power steering fluid (2) Clock (62) Door trim panel (28) Windshield (1) Front bumper (4) Rear bumper (2) Brake pads (1) Tires (2) Shift knob (5) Pump (9) Fuel pump (9) Car door (1) Push button (2) Power window switch (3) Instrument cluster (12) Radiator (5) Wheel (1) Fuse box (124) Seat (24) Crankshaft position sensor (5) Engine coolant temperature sensor (3) Parking sensors (3) Door lock (7) Brake system (1) Oxygen sensor (1) Suspension system (3) Side mirror (39) Rearview mirror (7) AdBlue warning light (19) Warning light – error code (76) (31) Tire pressure warning light (14) Service warning light (174) Manufacturer emblem (2) Engine mount (3) Brake drums and shoes (1) Fuel cap (5) Windshield wipers (4) Thermostat (2) Drivetrain (5) Center console tunnel (5) Turbocharger (1) Valve (2) EGR valve (10) Blower motor (6) Side window (3) Steering wheel (1)

How to set the clock on the Vespa 125 Primavera?

To set the clock on the Vespa 125 Primavera, press and hold the black button located just below the black knob on the bike: keep the button pressed until the hour number starts to flash. Once it is flashing, you can change the hours with single presses of the same button; then, by pressing and holding the button again, the hour number will stop flashing and the minute number will start to flash, which can be modified in the same way, confirming the input by holding the button.

Watch the video!


by ScegliAuto

More videos