
|
Do it yourself
| |||
| ||||


How to replace the gear lever on the Mercedes CLK W209
Model: Mercedes Clk
A209, C209, W209
- Years:
2002, 2003, 2004, 2005, 2006, 2007, 2008, 2009, 2010
Video tutorial
In this video we can see how to replace the gear lever on the Mercedes CLK W209, but the same procedure is also valid for the C-Class version W203 and for the E-Class version W211; the youtuber also changed the control unit, purchasing it used - something we also recommend, as it is a very expensive part - and which can be easily found online, but for which we cannot give purchasing instructions. Naturally, having to change the entire module, we will also have to remove the console; it is just a matter of removing six bolts. It is very important not to lose the "C" clip that the youtuber shows us; we are shown with great precision how to attach the gray connector to the module; indeed, an incorrect positioning could affect its operation; in general, all connectors must be positioned with great care. There are some difficult parts, such as torx screws that are not straight. Considering the care that must be taken in repositioning each individual component, we recommend taking photos during disassembly to ensure correct reassembly. It will then be easy to reassemble the boot and then the knob on the gear lever.
Posted on 1 January 2025 by ScegliAuto
Related tutorials
Mercedes Clk
(2002-2010 /
A209, C209, W209)
In the following guide dedicated to all of you who own a Mercedes CLK W209, we will help you quickly and safely remove the gear knob. First of all, m…

Mercedes Clk
(2002-2010 /
A209, C209, W209)
This useful video tutorial shows all the necessary steps to replace the battery on your Mercedes CLK W209, produced from 2002 to 2010. First, open th…
Mercedes Clk
(2002-2010 /
A209, C209, W209)
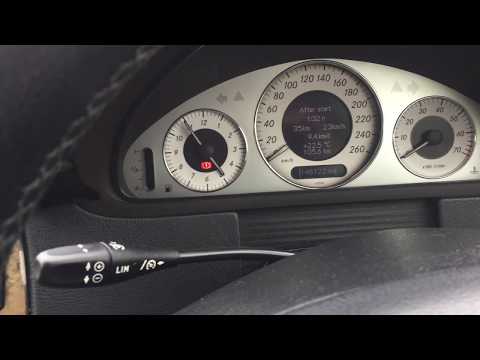
To set the time on a Mercedes CLK W209, follow these steps. Turn on the instrument cluster of your Mercedes. Press the MENU button on the steering wh…
Other guides you may be interested in |
How to Remove the Rear Seat of a Hyundai Tucson?
To remove the rear seat of a Hyundai Tucson, follow these steps. Start by moving the front seats to their most forward position to gain space. Next, locate the release lever on the underside of the rear seat, near the floor. Press this lever down while pulling the seat upwards to unlock it from the anchor pins. Once unlocked, tilt the seat upwards and forwards to remove it from its position. Repeat this process for both sides of the rear seat. Be careful of any electrical cables or components that may be connected to the seat during removal. Once the rear seat is removed, the disassembly is complete. by ScegliAuto More videos
|
|
For advertising on this site Write to info@scegliauto.com
ScegliAuto is not responsible for any inaccuracy of the data in the lists. To report any inaccuracy or your business (if you own the business in question), please write to info@scegliauto.com
Number of seconds to generate the page: 0.012
(c) ScegliAuto 2026 - info@scegliauto.com - Privacy policy VAT number: IT01247470535 |
